Google has recently released Pixelbook Go with Chrome OS. And, if you want to enjoy Google’s desktop operating system, then you don’t need to buy that. Because with the help of a USB Drive, you can install Chrome OS on PC. To be clear, you can’t install the same Chrome OS that comes in Chromebook or Pixelbook. You can get that only if you buy Chromebook. Because Google doesn’t provide any official builds of Chrome OS. But, the good thing is, there are open-source Chromium OS available. Which is similar to the Chrome OS or Chrome OS Flex by Google.
What is Chrome OS/Chromium OS?
Chrome OS is based on Chromium OS. Basically, Chromium OS is an open-source project. That means anyone can modify and copy Chromium OS, and use it the way they like. Though, technical expertise is required for that. So, You can get close to the Chrome OS experience by installing Chromium OS.
Chromium OS is designed for the people, who spend their time on the Web. This means, their whole work gets done on the Web. And, if you’re using an old PC or laptop. And, Windows isn’t working properly. Then, with Chromium OS, you can get a new Look & Interface. Because it is a lightweight OS, so it will work on older hardware also.
In this article, you will know two methods to install or dual-boot Chrome OS. And, you can either run OS entirely from USB Drive. Or, you can install it on your computer, which is optional. These methods will not overwrite your existing OS. You just have to follow all steps correctly.
Install Chrome OS on your PC
Chrome OS Flex
Chrome OS Flex was previously known as CloudReady. But now, Google has released Chrome OS Flex update for all CloudReady devices. To reduce e-waste, Google has released this OS, so that you can modernize devices you already own. You can easily deploy Chrome OS Flex on your old Windows and Mac Devices.
Although, Google has released a list of certified models. From this, you can check whether your laptop will support Chrome OS Flex or not. However, it will also work on non-certified devices. But, you will not get the same performance, stability, and functionality.
Yes, ChromeOS Flex is different from Chrome OS. But, it offers nearly all the features that Chrome OS has. But since Chrome OS devices come with a Google security chip, TPM (Encryption), and Firmware updates. Which lacks in the Chrome OS Flex. And, mainly, Chrome OS Flex still doesn’t support Android apps or Play Store. So, you should know all that before you continue the installation.
Create a Chrome OS Flex Bootable USB Drive
Note: You can visit the Chrome OS Flex official website. And, click on “Try Chrome OS Flex”. Fill out the form and you will get an installation guide. Or, you can follow the instructions mentioned below.
1. First, Connect your USB Drive to your Computer. Make sure there isn’t any important data stored in it.
2. Do install the “Chromebook Recovery Utility” Extension from Chrome Web Store.
3. Once the extension gets installed, click on the puzzle icon in the Chrome toolbar and pin the “Chrome Recovery Utility” icon.
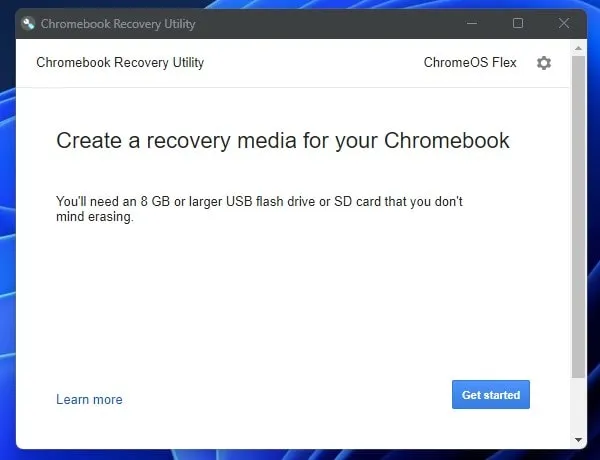
4. Click on the icon and Chromebook Recovery Utility will get open. Click on Get Started.
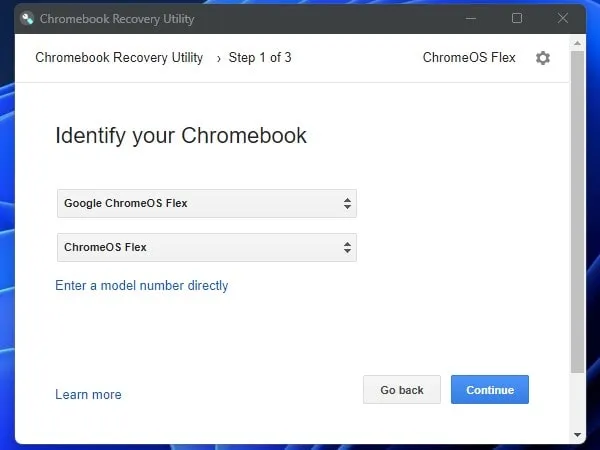
5. The setup will ask you to identify your Chromebook. Click on “Select a model from a list”.
6. Click on “Select a manufacturer”. And, from the drop-down menu, do select “Google Chrome OS Flex”.
7. Next, click on “Select a product”, and select “Chrome OS Flex”. Click on Continue.
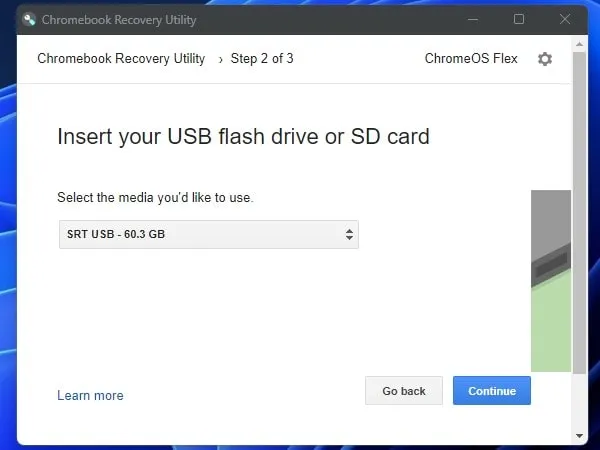
8. Next, select your connected USB Drive, and click on continue.
9. That’s it, Click on Create Now.
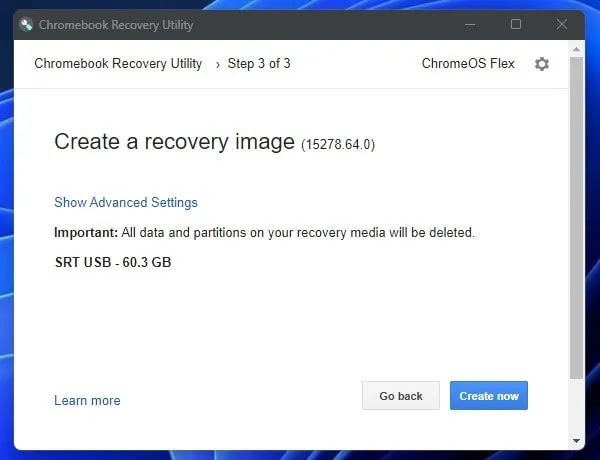
10. Chrome Recovery Utility will now start downloading the OS. And, will create a bootable Drive.
Once it successfully creates a bootable USB Drive. You can boot from the drive and install Chrome OS Flex on your PC or Old Laptop. You can follow Neverware CloudReady bootable guide. Because Chrome OS Flex is just an updated version of it.
Fyde OS
Fyde OS (known as Flint OS) is the first cloud-driven operating system. Fyde OS is basically de-Googled version of ChromeOS. It completely inherits all the Chrome OS features and does adapt more hardware categories. You”ll amaze to know, it can run Windows programs, Android Apps, Web Apps, and Linux Apps. Which is not supported by Chrome OS Flex. It is an open-source project, so most of its source code is available on GitHub. Also, a good alternative for older PCs that aren’t able to run even Windows OS properly. It offers a complete software ecosystem, so you will able to use all utility Apps.
I will not suggest you replace your current OS with Fyde OS aka Chrome OS. Because you might not find it useful after some time. So, it’s better to try it first for a few days and later decide to install it completely. You can either download a .img file or can create a bootable USB drive using Etcher. And, can dual-boot Fyde OS (Chrome OS) with Windows 11. Or, If you have a high-end PC then, I suggest you download the VM file of it, and try it on VMWare.
Note: I have faced some issues while creating a bootable USB Drive of Fyde OS. So, I am going to demonstrate the VMWare method, which is quite easy. I will add an installation guide once I find out the solution.
Install Fyde OS on VMWare
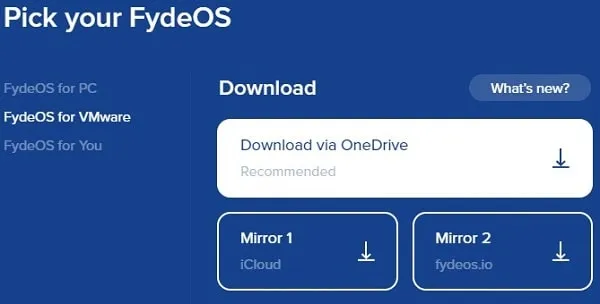
1. Visit the FydeOS VM download page, and, download the FydeOS VM file for VMWare.
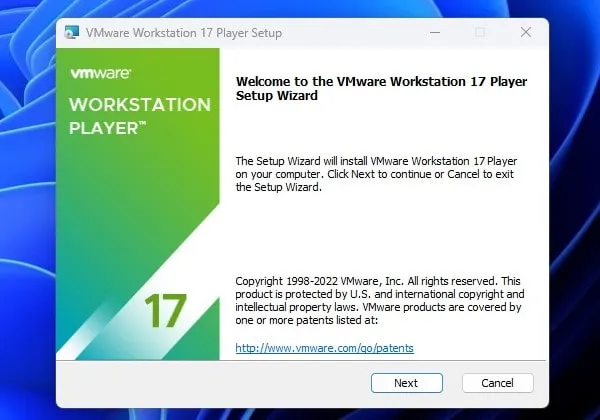
2. Download the latest version of VMware Workstation Player.
3. Run the VMware Workstation setup file, and install VMware. (Setup might ask you to restart for installation of Microsoft VC Redistributable. Do restart and run setup again.)
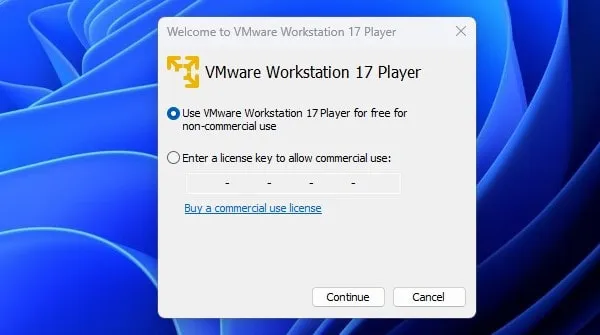
When setup gets completed, select the “non-commercial use” option, and click on “Continue“.
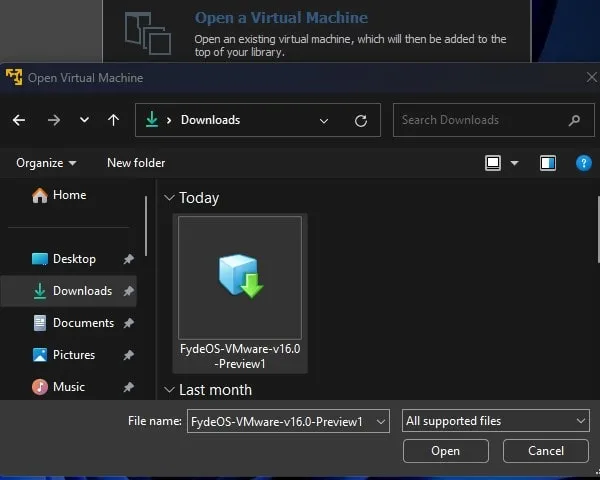
4. Once the VMware home screen appears, click on the “Open a Virtual Machine” option.
Select the downloaded “Fyde OS” file and click on Open. (it’s a pre-configured virtual machine of Fyde OS aka Chrome OS. So, not much setup is required.)
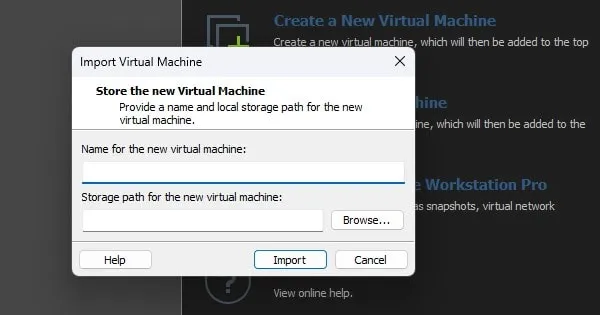
5. A small window will appear, click on Import. You might see Import Failed screen after that. Don’t worry, just click on “Retry“.
6. When the Importing process gets done, you will see the “Play Virtual Machine” option will appear. Click on it to run Fyde OS.
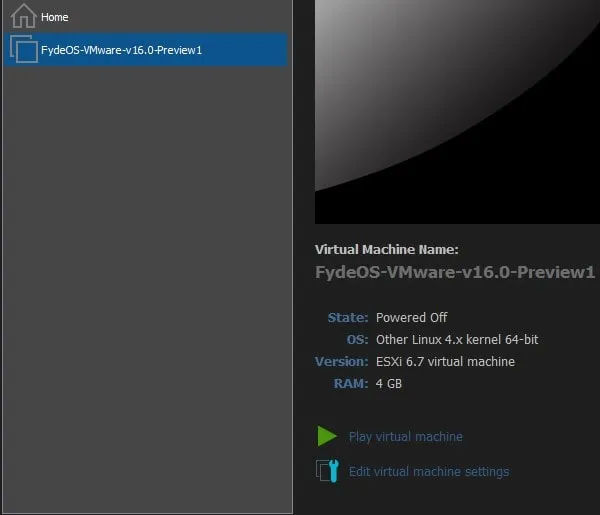
7. That’s it. Fyde OS will now get started. To switch the mouse pointer between the desktop and the Virtual machine, use the Ctrl+Alt key.
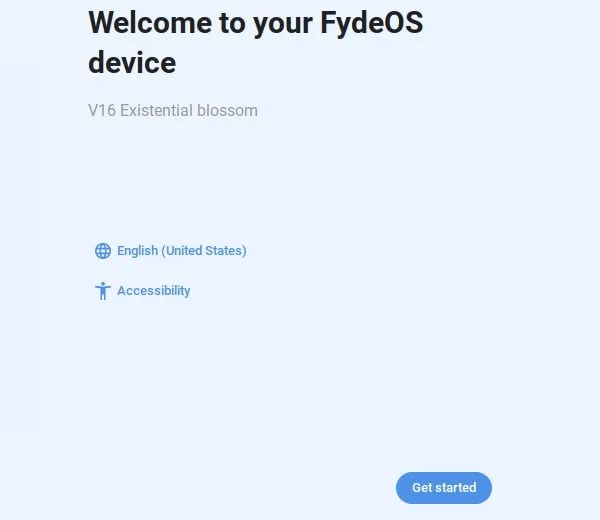
8. Fyde OS setup will get open, select the English language. Click on OK.
9. After that, go through the setup process. And, you have to create a Fyde OS account to use it.
10. Once, you complete the registration and login process, you will able to use Fyde OS.
So, that’s how you can install and run Fyde OS aka Chrome OS on your PC without replacing it with Windows. If you face any error or issue during the installation process, feel free to comment.
Neverware CloudReady (Chromium OS)
The CloudReady is an Operating System for Windows, Mac, or a Chromebook. It is based on Chromium OS. Both, Google and Neverware take source code from Chromium OS to develop their own Operating Systems. And, they add their own proprietary code to create a fully working OS. Though, CloudReady is just a modified Chromium OS to work on your existing PCs. And, you won’t get extra features that Google adds in official Chrome OS. Like, the ability to run Apps, which might be disappointing for you. Also, DRM and multimedia features will also not work on some sites.
CloudReady comes with a wide variety of hardware support. So, If you have an old laptop that slowed down. Then, CloudReady OS can make it faster and more useful for you. And, you can experience Chromebook on your old laptop. I will not suggest you install it completely on your Computer. Because it can replace your existing Operating system by overwriting. So, first, boot it from USB Drive. And, you can check the keyboard, mouse (touchpad), and WiFi, are working or not.
Neverware offers Enterprise and Education versions of CloudReady OS. That can secure your old laptop, by turning it into a secure device. And, you can manage it alongside Chromebooks, in Google Admin Console. Though, there is a free version of CloudReady available for personal, home use. The free version doesn’t come with access to the NeverWare support team. And, the CloudReady home machine can’t be enrolled in the Google Admin console.
Prerequisite.
All you need is an 8 GB to 16 GB USB Drive (Sandisk USB drives are not recommended.). And, a Computer with Internet Connection. For Mac and Chromebook, you have to manually download Image and build the CloudReady installer. But, for Windows, it’s quite easy. So, follow our guide to creating Cloudready USB Drive and Install Chrome OS on your PC.
Install CloudReady Home Edition on Windows PC. (Chromium OS.)
Create a bootable CloudReady USB
1. First, do download the USB Maker of CloudReady. (Since the official site is closed, so you have to look for third-party sources. Although, I will recommend trying Chrome OS Flex.)
2. Run CloudReady USB Maker File as an administrator, that you have downloaded.
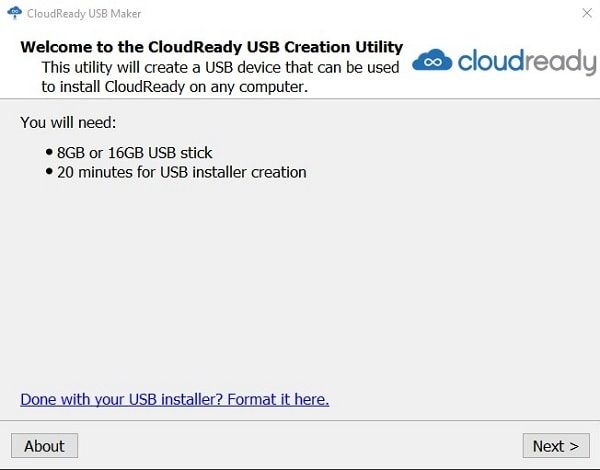
3. USB Creation Utility will now appear. Click on Next.
4. Select 64-Bit and Click on Next.

5. Now, Insert your USB Drive, and click on Next. Make sure there isn’t any data on USB Drive. Because all will get erased.
6. On Next Screen, Installer will ask you to select USB Drive. Select the drive and proceed to the next screen.

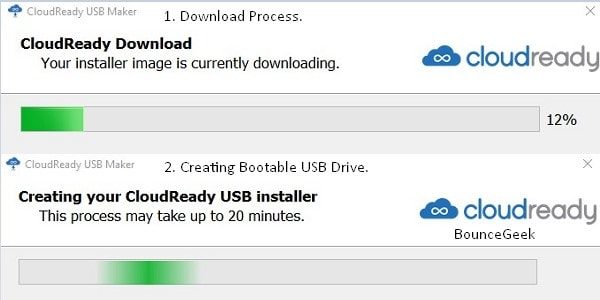
7. Now, CloudReady USB Maker will start downloading Chromium OS Files.
8. And, When Download will get Complete, it will start creating a bootable USB. And, that can take up to 20 Minutes.
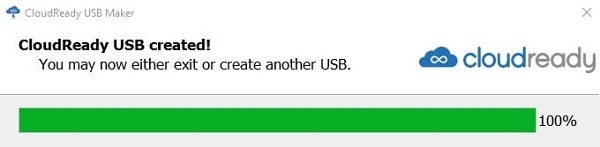
9. When the Whole Process will get Completed. You will able to see the final screen with the message “CloudReady USB Created”.
Boot CloudReady (Chromium OS) from USB
1. First, turn off the Computer Completely. And, Plugin the Bootable USB Drive that you have created.
2. Power on the machine and keep pressing the special boot key of the machine. The special boot key varies among manufacturers.
Note: On my PC, I am using an Asus Motherboard. And, for Asus Motherboard, “F2” and “Delete” are assigned to pause boot and enter into the boot menu.
- Dell – Keep tapping F12 when the Dell logo appeared.
- Toshiba – F12 or F2
- Asus – F2 or Delete.
- HP – F9.
- Acer – F12
- Lenovo – F12
- Apple – Hold Option (next to the ⌘ key). (When your Apple computer is first time gets turned on.)
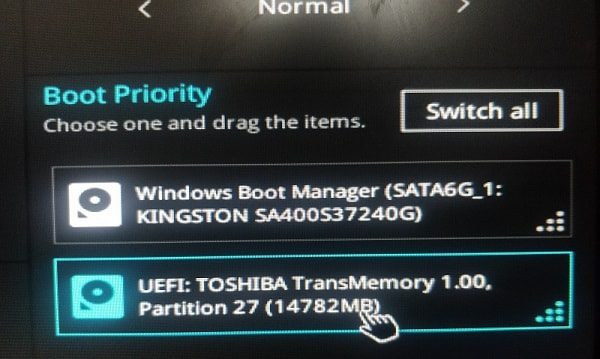
3. If you were able to press the correct keys then the boot menu will appear. After that, Select “CloudReady Bootable USB” from it. And Save Changes by pressing the appropriate keys.
4. Once you will able to set up USB Drive as the first boot priority. Then, automatically CloudReady logo Screen will appear.
![]()
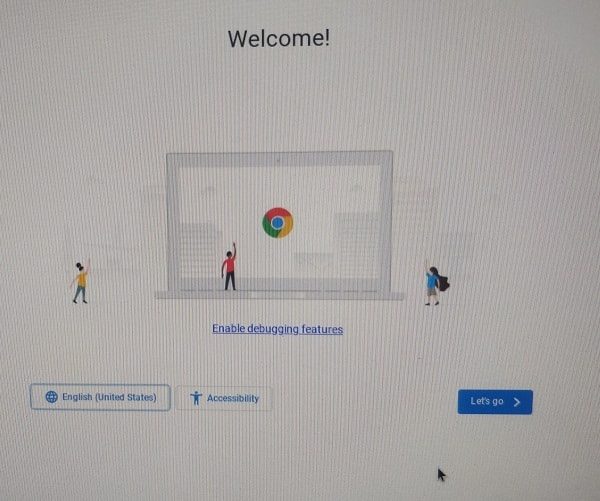
5. Welcome Screen will appear after that logo screen. Click on “Let’s Go”.
6. Connect to WiFi on the next Screen. And, then click on “Continue”.
7. Now, CloudReady will ask you to Sign in to your Chromebook. Do it with your existing Google Account.

That’s it. CloudReady’s Chromium OS will now get started. You have successfully installed Chrome OS on your PC.
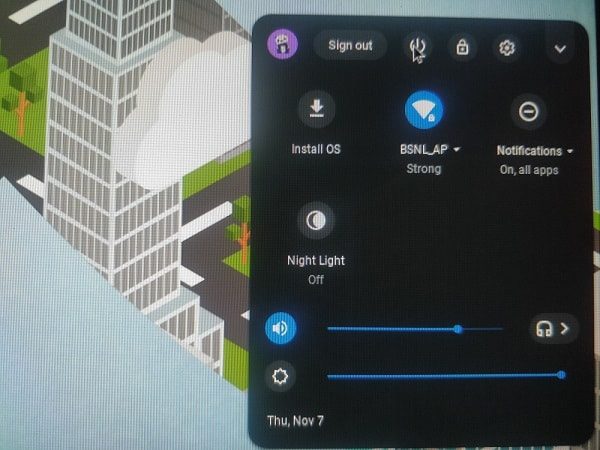
Shut Down Chromium OS, and Boot into Windows – Click on the time shown in the bottom right corner. After that, click on the Power icon. Once CloudReady Chromium OS gets shut down. Remove USB Drive and Start Computer.
Okay, so that’s how you can install Chrome OS on your PC. I will suggest you install Chrome OS Flex on your Old Laptop. If it doesn’t work then try Cloudready, which is an older version of Flex. And, if that also doesn’t work then you can try Fyde OS.