
Welcome, Geeks (and-not-so-Geeky) – In Windows 10 there are many advanced Feature that Still we Don’t Know About. Today am talking About Screenshot Feature. As You Know in Android we can take the screenshot by holding power button & Volume down Key. But in windows, there is a different way to take Screenshot. Sometimes we need to save some data or information & we don’t want to waste our time in copying data or Info, then the best way to save time & save the data & information is capturing the screenshot. Many Windows user want to know how they can take a screenshot of Windows 10. And maybe you found some ways, Today am gonna provide you 4 Best way to take Screenshot in Windows 10 & good thing is there are 3 ways that will also work with Windows 7.
4 Best ways to take Screenshot in Windows 10
Take Screenshot By Pressing hotkeys
This is the First & best way to take Screenshot in Windows 10.If you want to take a screenshot of the whole screen and save it as a file on the hard drive, without using any other tools. then You can take Screenshot of your current screen by Pressing Windows + PrtScr Hotkeys.

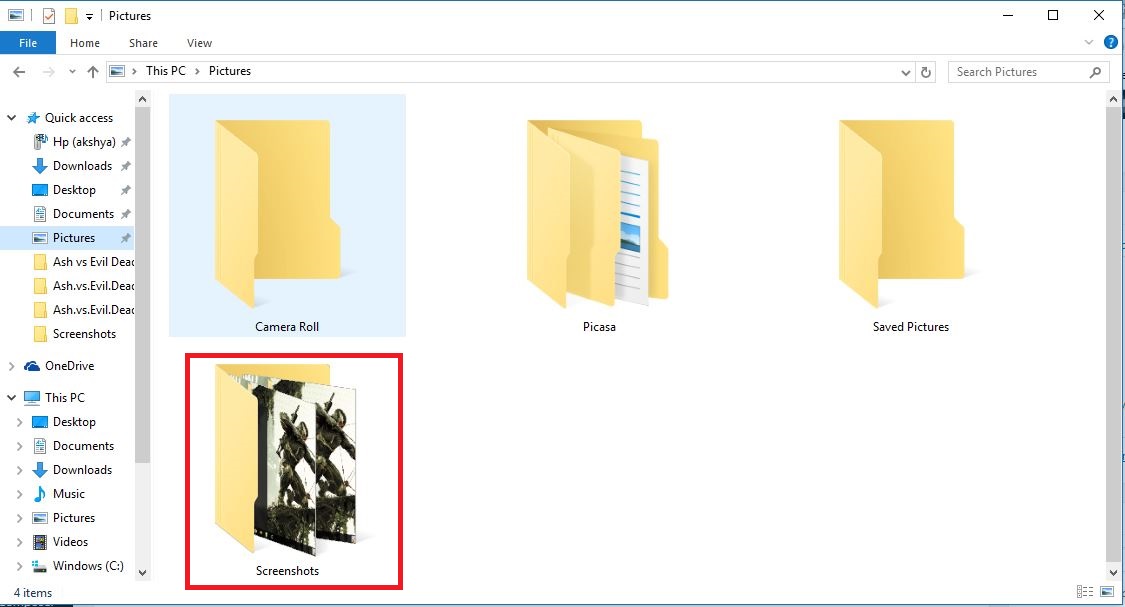
Where can I Find Screenshot?
Open My Computer, On left SideBar Click on Pictures. Now you can see Screenshot Folder.
Take Screenshot By Using Built-in Tool.
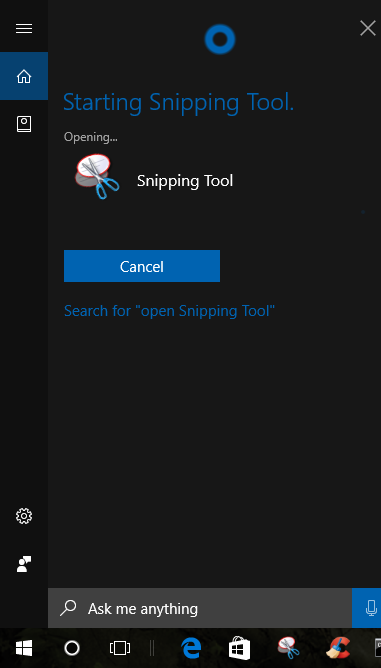
If you Only want to take the screenshot of some Desktop area then there is a Built-in Tool Already Available in Windows. And the best part is By Using this tool You can take the screenshot in Windows 10,8 & 7 Also. Because of this tool available in older Windows Version Also. Am talking about Snipping tool. You can Easily find this tool By Using Search option or in Windows 10 by using the help of Cortana you can Easily open this tool.
How to Take Screenshot By Using Snipping Tool?
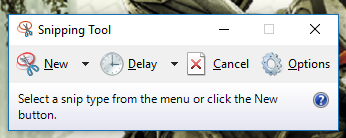
After Opening Snipping Tool Now click on New (scissors Icon)
Now By Using Mouse select area that you want to Capture. After Selecting Area Now you can see a screen like Below.
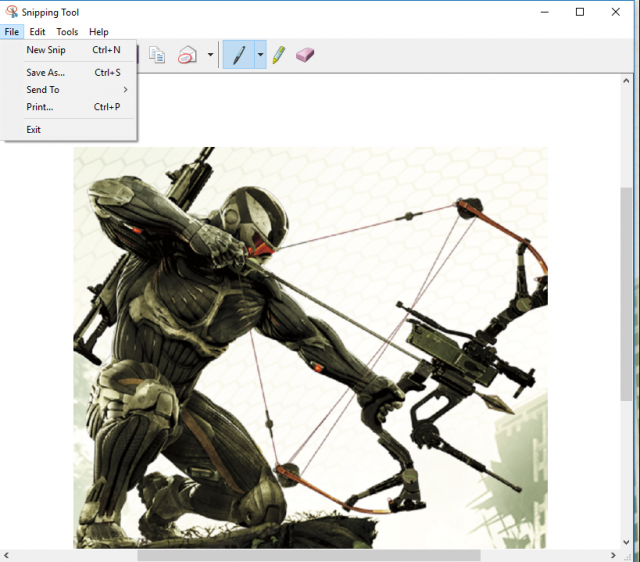
Now Click on File Button & click on Save As. Now you can save anywhere you want.
Take Screenshot by Using The Keyboard Shortcut.
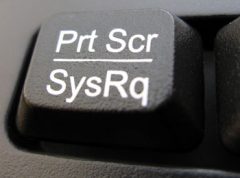
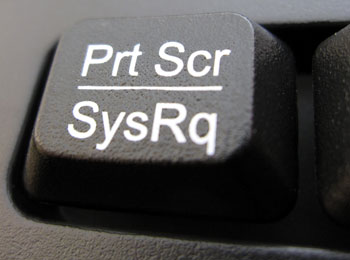
This Method also works in all versions of Windows, including Windows 8.1 and Windows 7. On your keyboard, press the PrtScn (Print Screen) key.

This creates a screenshot of the whole screen and saves it to the Clipboard. Now Open Paint Application.
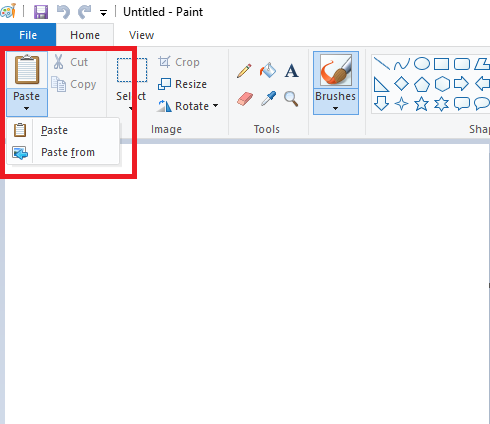
And Click on Paste or you can simply Press Ctrl + V. After that you can simply save your screenshot.
Take ScreenShot By Pressing Alt + prtScr Key.
This Method is Same as Above Method. In Windows 8.1 & Windows 10 you can take Screenshot of the Whole Screen by Pressing to Hotkeys Alt + prtscr. To Save Screenshot you can Use any Programme like Paint or Anything.
Thank for reading this article. So these are all ways that I found to take Screenshot in Windows 10. If still there any Method or way left to take Screenshot then feel free to Comment. 🙂