This article aims to tell you, how to transfer files from PC to iPad. So, If you have just purchased a new iPad recently, then this post is gonna be helpful for you. If you’re not aware, the new iOS and iPad OS, lets you use external storage. You can connect the SD card with the Apple SD Card adapter. And, can connect your USB Drive and Hard Disk. But still, not all SSDs and HDDs work, so keep this in mind. Also, you can transfer files directly into iPad local storage, from external storage devices.
As you know, iOS and iPad OS is a closed system. That means cross-platform support is still not available. If you’re a macOS user then, with AirDrop, you can wirelessly transfer files to the iPad. But, Windows users can’t. Even, if you connect an iPad to a Windows PC via Lightning Cable. You can’t able to transfer files into iPad Storage. However, you can transfer some files from an iPad to a PC. But, here we want something vice-versa.
So, in this article, I will try to tell you all the possible methods to copy files from PC to iPad. And, these methods will work on all iPad models. Like, as iPad Mini, iPad Air, and iPad Pro. Just make sure your iPad OS is updated.
Transfer Files from PC to iPad or iPhone.
1. Use SnapDrop or ShareDrop.
When we have to transfer files from Mac to iPhone/iPad, we use Airdrop. Airdrop allows sending files instantly with people nearby. But, Airdrop only works between Apple devices. Well, If you want to transfer a file from a Windows PC to an iPhone/iPad, then you can use Sharedrop.io or SnapDrop.net. Both sites work similarly to the Airdrop feature of Apple.
But, you need to connect your Windows PC and iPhone/iPad to the same WiFi network. Because SnapDrop/ShareDrop are P2P File Transfer. And, does use WiFi Router as a medium to transfer files between devices.
1. First, connect Windows PC and iPhone to the same WiFi network.
2. After that, open the ShareDrop website in Chrome Browser on a Windows PC.
3. Open the same ShareDrop Website on Safari Browser on iPhone.
4. You will now see your iPhone/iPad name on the ShareDrop web version. (Name will be random) Click on it and select the file.
5. Once, you select the file, click on Open.
You will now get an open to send the file.

6. Check your iPhone/iPad, you will get open to save the file.
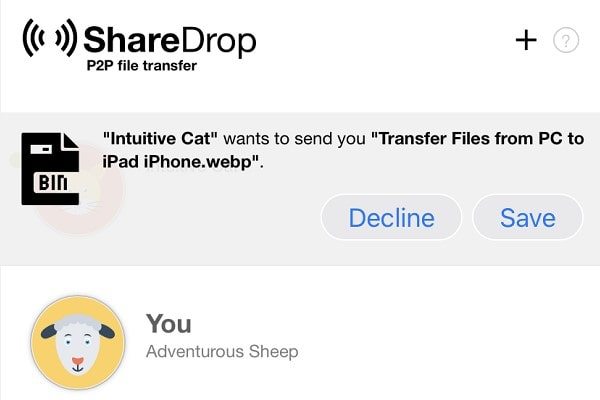
7. When you tap on to save you will get the option to download the file.
8. Do download the file. And, from the Safari downloads section, you can save files to the Files App.
That’s how you can easily transfer files from a Windows PC to an iPhone/iPad wirelessly.
2. Transfer Files to iPad using iTunes.
You might already be aware of this method to transfer files to Apple Devices. But, If you have purchased an iPhone or iPad first time. Then, this method might be useful for you. However, If you’re here for some other methods, scroll down.
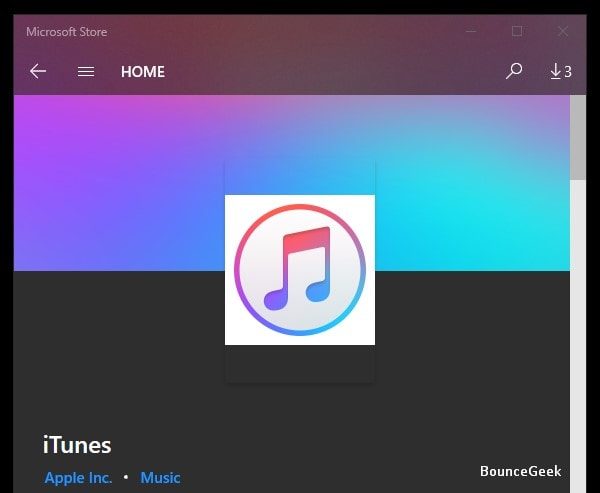
Step: 1 Install the iTunes App from the Microsoft Store.
Step: 2 After that, Connect your iPad to a Windows PC via Lightning Cable or Type-C Cable. Make Sure the iPad is unlocked.
Step: 3 Open the iTunes App. The “iTunes software license agreement” window might appear now, click on “Agree”.
Step: 4 The iTunes Welcome screen will now appear. Click on “Agree”.
Now, Click on the “Device” Icon. And, it will take you to the iPad Page. You will be able to see all the information about your iPad.
![]()
Step: 5 Click on the “File Sharing” option from the left sidebar.
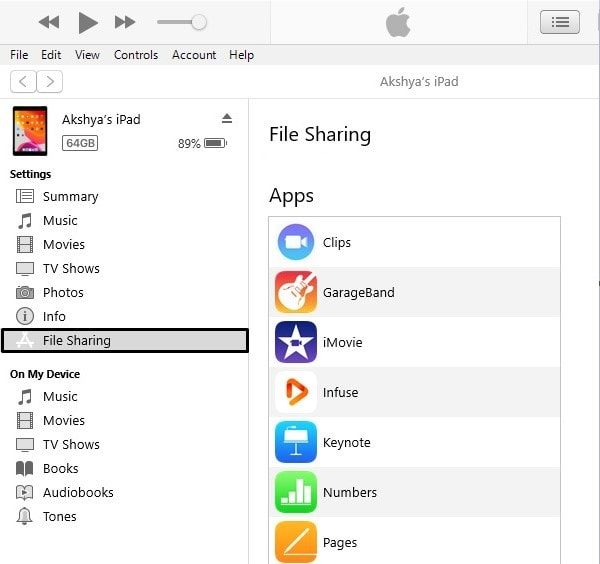
Step: 6 Now, from the middle of the iTunes Window, select the App, in which you want to add the file. (Basically, the file will get copied into that app’s Folder.)

Step: 7 Click on the “Add File” button, and select the files that you want to copy onto the iPad. And, click on Open.
Note: The File type doesn’t need to correspond to the selected App. And, Apple’s Pages, Clips, GarageBand, KeyNotes, and Numbers Apps come with existing folders. This means you can use them to store any Files. I want to transfer a movie, and, I use Infuse App to watch offline videos. So, I have selected that App.
Step: 8 Once you hit the open button. The copy process will get started. You can see the process bar in the upper-middle corner of the iTunes window. Once, the file gets copied, you can disconnect your iPad.

Important: After copying the file, you can click on the Sync button. It will Add the File to the selected App on your iPad.
3. Transfer files wirelessly using Infuse or VLC.
Although to transfer files wirelessly there are many Apps available on the App Store. And, maybe you already know about Xender and SHAREit. Yes, you can use any App from these two to transfer files to your iPad. But, these two Apps don’t allow us to transfer every file format. That’s why I am suggesting you Install Infuse or VLC on your iPad or iPhone.
Infuse is basically a highly rated powerful video player app for iOS devices. With it, you can play any video format without any errors. It even allows streaming video stored on PC, Mac, and WiFi hard drives. It also comes with Google Cast and Airplay options. And, Apart from that, the file transfer feature is also available in Infuse. You can transfer files via Browser and via the FTP App. For File transfer, both the computer and iPad should be on the same WiFi network.
Note: Initially, Infuse 6 is designed to transfer video files only. This means, that if you transfer any file it will get stored in the Infuse folder. But, you don’t have to worry about it. Just create a new folder in “On MY iPad”. And, with iPad/iPhone file manager you can move files in that folder.
Transfer Files from Windows PC to iPad using Infuse 6.
1. Install the Infuse 6 App from the App Store. Open the App, and, give all required permissions.
2. Tap on Settings (Gear Icon) in the Infuse 6 App. On the left sidebar, you will be able to see the “Add Files” option. Tap on it.
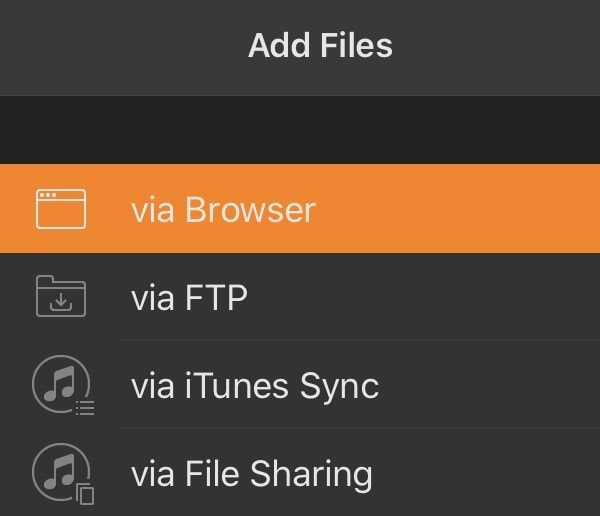
3. Now, you will be able to see multiple ways to transfer files on your Apple Device.
Stay on the “Via Browser” page and you will be able to see a Web Address with the Username and Password to access.
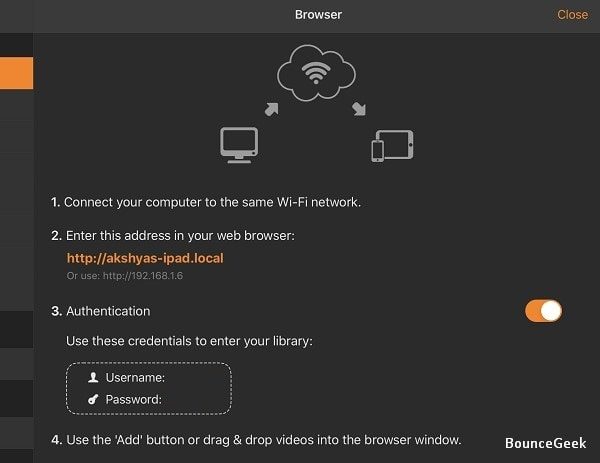
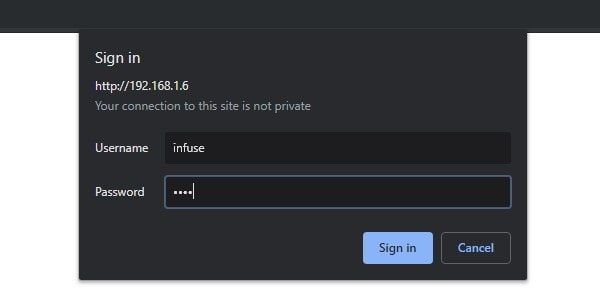
Do open the Web Address shown in the Infuse App on your PC. Enter login details and click on Sign in.
4. To transfer files to your iPad, click on Add Files (“+” Icon).
Select the Files that you want to transfer, and, click on Open. That’s it, the File transfer process will now get started.
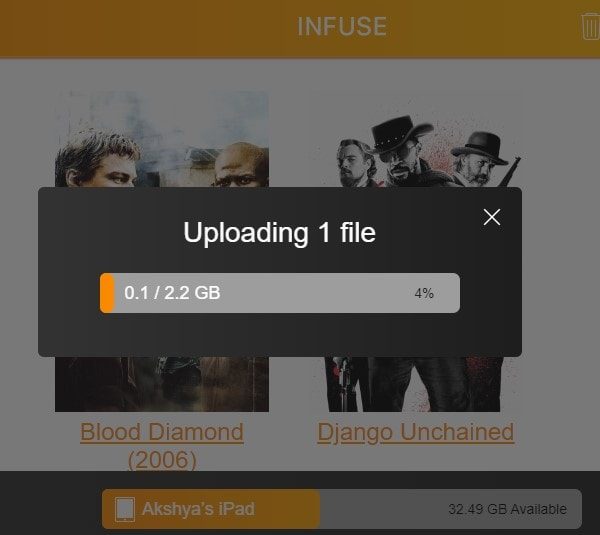
5. Once File Transfer is completed, Open File Manager > Infuse folder. And, move the transferred file into the respective folder of file type.
Note: There is one bad thing about this app. You can’t transfer files from an iPad to a PC. And, if you want that. Then, Xender or SHAREit might be the best options for you.
4. Use iCloud, to Transfer Files.
If you have a high-speed internet connection. Then, this method is gonna be best for you. iCloud basically allows users to store data like photos, music, and documents on remote servers. So that, users can download it on iPad OS, iOS, macOS, and even Windows Devices. So, to transfer files from a Windows PC to your iPad. You need to upload the file on iCloud Drive through the Web Browser. And, you can download that file locally on your iPad by going into Files > iCloud Drive. This whole process is super easy.
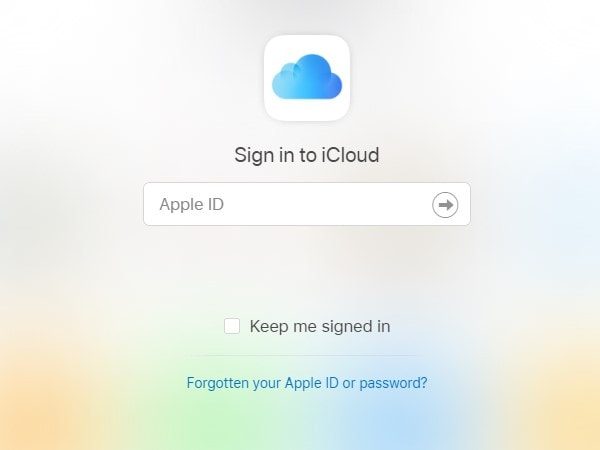
1. Open https://www.icloud.com/ in your web browser. (Can use Chrome.)
2. Now, Sign in to iCloud with your Apple ID and Password.
3. After entering login details, the two-factor authentication Window will appear.
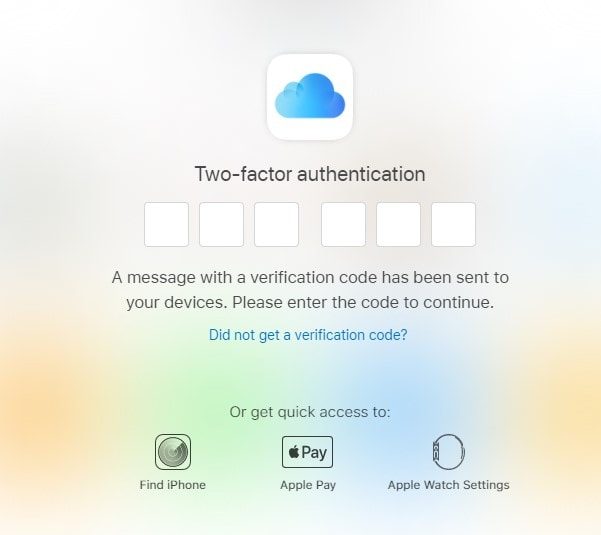
4. Check your iPad/iPhone, you will be able to see Sign in Request. Click on Allow, and an “Apple ID verification Code” will appear.
Enter that code in your Web Browser to Complete Sign-in.
5. If you’re logging in for the first time in the Web browser in iCloud. Then, the “Trust this Browser” window might appear. You can click on “Not now” or “Trust”. It is completely your choice.
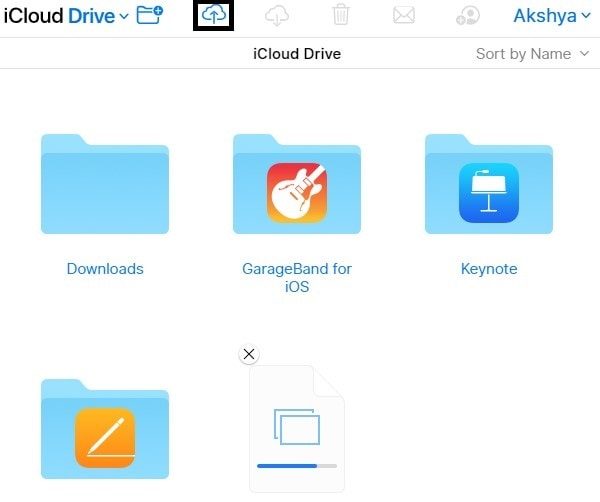
6. After that, the iCloud home screen will now appear. Click on iCloud Drive.

7. In iCloud Drive, Click on the file upload icon and select files to upload. And, Click on Open.
Note: The upload process will take time according to your Internet Speed and file size. I suggest you use the Internet Speed Meter for Windows 10. So that you will get to know your real-time upload speed.
8. Once, the file gets uploaded completely on iCloud Drive. Open the Files app on your iPad/iPhone. And, in iCloud Drive, you will be able to see the uploaded file. You can download and move that file, to any other location.
5. Use Google Drive or Microsoft OneDrive.
Just like iCloud Drive, you can use Google Drive or Microsoft OneDrive. Apple devices do not come with a pre-installed Google Drive App. So, you have to install the App from the App Store. After that, just open the Google Drive Sign-in page on your PC. Log in with your Google Account details. Click on “New” and upload the file. And, you can view and download that file on your Apple device.
Summing – up.
So, these are the methods to transfer files from PC to iPad. If you want to transfer files using Cable, then iTunes is the best way. And, you can use Xender, SHAREit, or Infuse 6, if you want to transfer wirelessly. And, if your PC and iPad are not on the same WiFi network. Then, iCloud Drive, Google Drive, and OneDrive are some, that you can use. That’s it if you know any other method, feel free to comment.