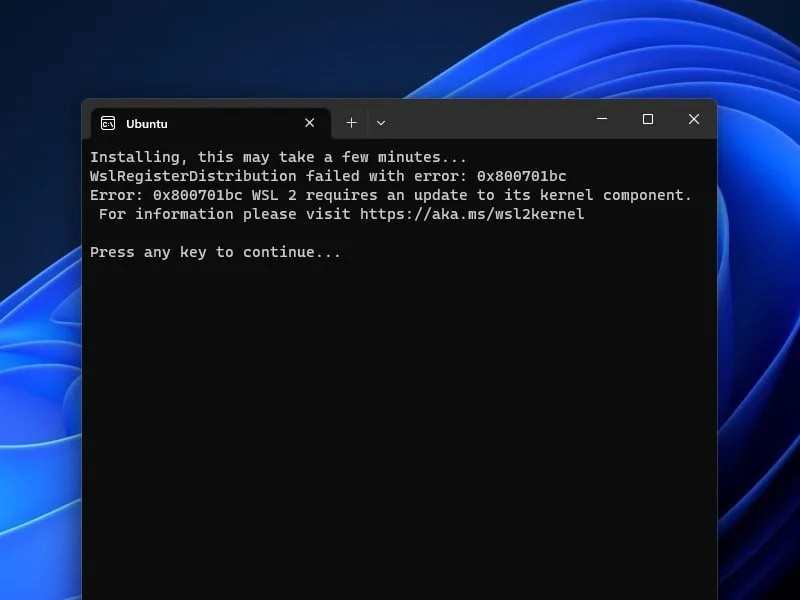
Windows Subsystem for Linux (WSL) is a great feature of Windows, it allows running a Linux environment without dual-booting. There are two versions of WSL available: WSL 1 and WSL 2. And, you can easily enable WSL from Windows Features. If you’re on Windows 10, Version 1903, Build 18362 or later, or using the latest Windows 11, then you will get WSL 2. And, if you’re manually installing Windows Subsystem for Linux 2 on Windows 11. Then, you might get a “WSL 2 requires an update to its kernel component” Error while running Linux Distro.
Why this WSL 2 Kernel Component Update Error Occurs?
The WSL 2 includes its own Full Linux kernel, Managed VM with system call compatibility. That helps in seamless integration and performance across Linux and Windows OS. And since WSL 2 Linux kernel is built by Microsoft from the source available at kernel.org.
That’s why you need to update the Linux kernel update package from Windows Updates. Yes alternatively, you can download and run the “WSL2 Linux kernel update package”.
So, if you haven’t updated the kernel component. Then, you will get this error, when you try to run Ubuntu terminal environment or any other Linux distro. Yes, with WSL 1, you will not get this error, because WSL 1 works differently.
Okay, so here’s how to fix “WslRegisterDistribution failed with error: 0x800701bc” and “Error: 0x800701bc WSL 2 requires an update to its kernel component“.
Install WSL 2 and Update WSL 2 Kernel Component
Note: Before we do an update WSL 2 Linux Kernel, there are a few things you need to take care of. If you’ve already done that, then you can jump to step 3 to fix the error.
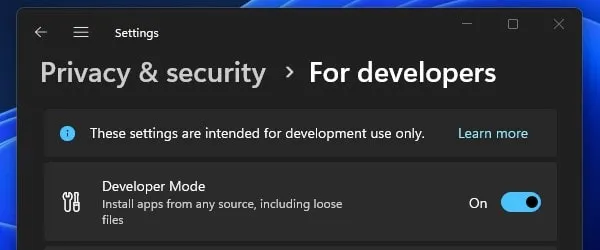
Step 1: Enable Developer Options
1. Press Windows + I Keyboard Shortcut on Windows 11 to open the Settings App.
2. From the left pane, click on “Privacy & security”.
3. Click on For Developers.
4. You will see the Developer Mode option, do enable it. A confirmation window also will appear, click on Yes.
Step 2: Turn on WSL, Virtual Machine Platform, and Hyper-V
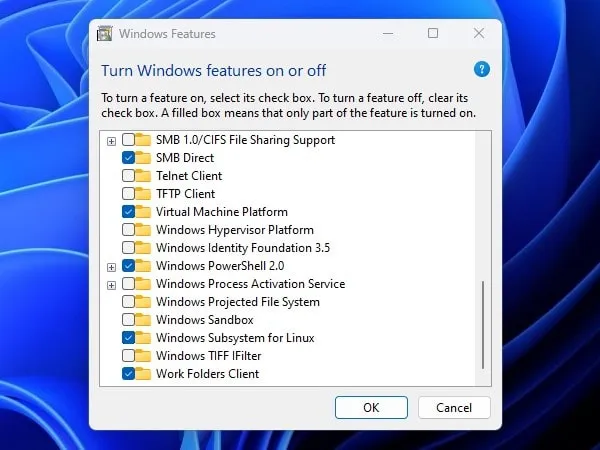
1. In Window search, type “Turn Windows features on or off”. And, from the search results, click on Open.
2. Windows Features window will appear. Do select these three features from it. Click on OK.
- Hyper-V
- Virtual Machine Platform
- Windows Subsystem for Linux
3. Windows will now search for required files and will install all selected features.
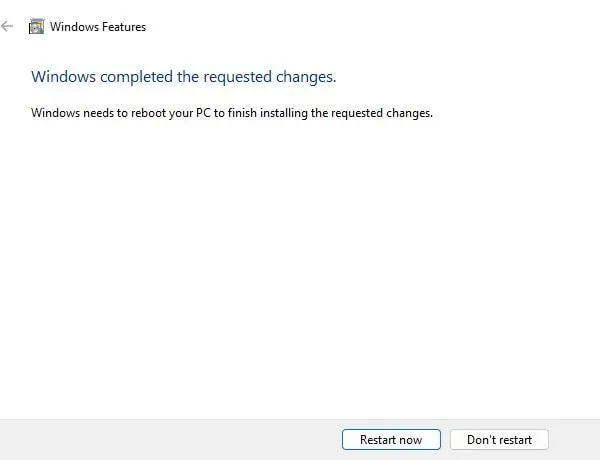
4. Once everything will get installed, it will ask you to restart Windows. Click on “Restart now”. Yes, you can even install WSL from Microsoft Store as well.
Step 3: Update WSL Kernel Component
Method 1: Use Windows 11 Updates
1. Again do open Windows 11 Settings App by pressing Windows + I Keyboard Shortcut.
2. Click on Windows Update from the left pane.
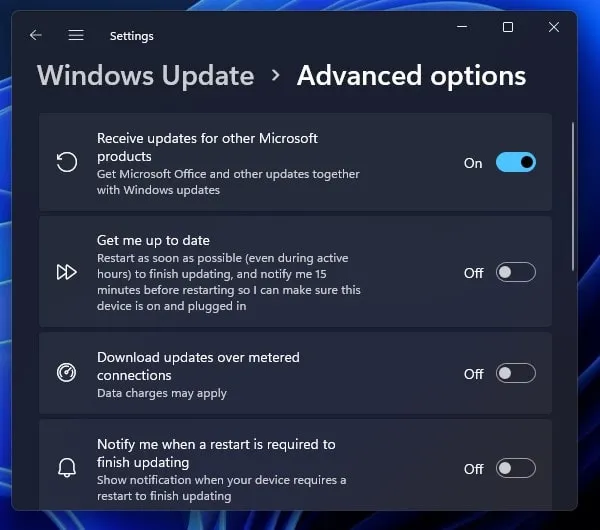
3. Click on Advanced options.
4. Now, do enable “Receive updates from other Microsoft Products”.
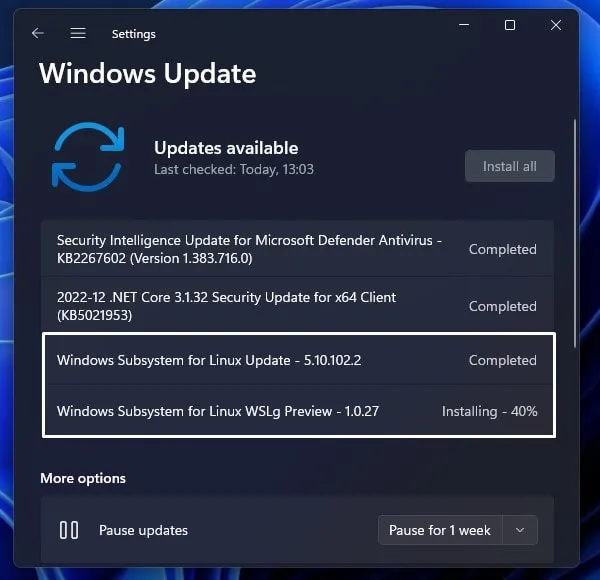
5. Go back to Windows Update and click on Check for updates.
6. That’s it, Windows will find the latest WSL 2 update for you and will install it. And, WSL
Method 2: Manually Download WSL 2 Kernel Updates
If Windows Update isn’t able to find the WSL update for you. Then, you can manually download and run the WSL update package for the x64 or ARM64 system.
1. Do open the following link and download the latest version of the WSL update.
Download Windows Subsystem for Linux Kernel Update
2. Do check your system type before downloading a package. Once, you click on the download option, in a new tab you will see the arm64 and x64 packages.

3. So first, check your system type by opening Settings App > About. Once, you find out download the package.
4. Open the downloaded package and you will find wsl update package inside it. Open it and select a folder to extract.
5. Open Extracted folder and run the “wsl_update” file to install the latest wsl2 package.
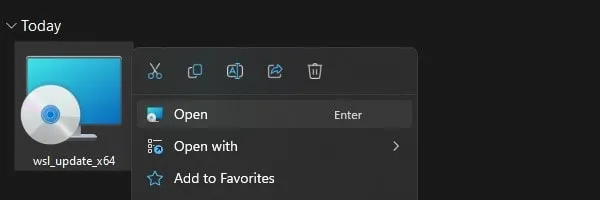
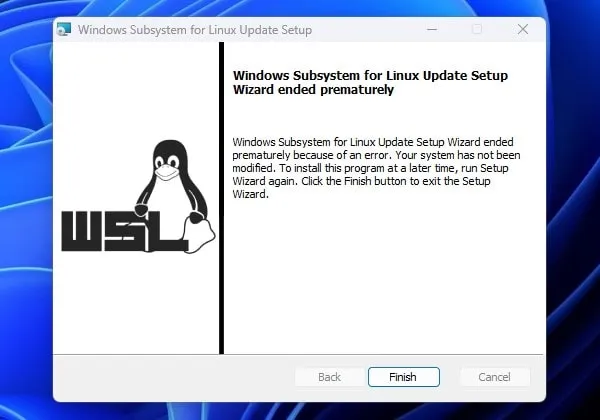
6. WSL Update Setup window will appear. Follow the instructions that appear on the screen to update.
Step 4: Set WSL 2 as default
1. Right-Click on Windows 11 start button and click on Terminal (Admin).
2. UAC Window will appear, click on Yes.
3. Once, Window Terminal gets open, copy and paste the following command into it, and press enter key.
wsl --set-default-version 2
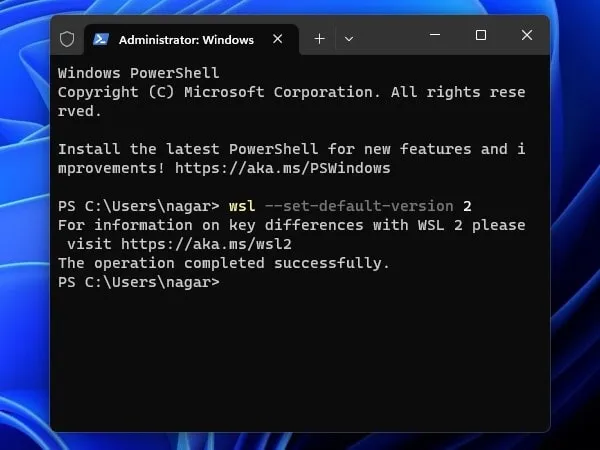
4. That’s it, the “The operation completed successfully” message will appear.
Step 5: Install a Linux Distro
1. Open Microsoft Store.
2. Do Search for Ubuntu and Install it on your Windows 11 Computer. Yes, you can install any Linux distro of your choice.
3. Once, Ubuntu gets installed open it.
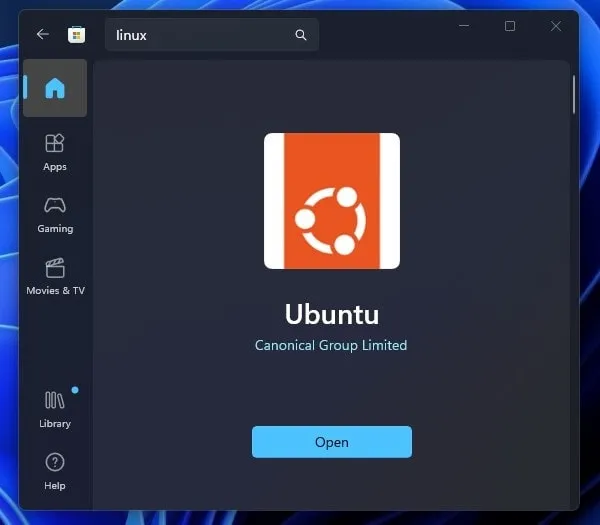
4. That’s it, you will now not get the “WSL 2 requires an update to its kernel component” Error. And, the installation will get completed successfully.
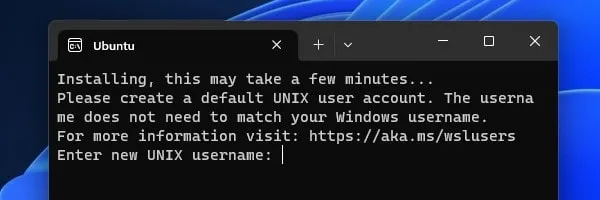
5. And, after installation, you will able to set your UNIX username and password.
You can use the same method to enable the Linux Bash Shell on Windows 10. Okay, so that’s how you can update WSL 2 Linux Kernel. This error mainly occurs due to an outdated version of WSL 2. So, by installing WSL 2 through Window update or manually, this error can be resolved. If you have any questions related to this error, let me know in the comment section.
