In 2018, Microsoft acquired GitHub for $7.5 billion. Similarly, Microsoft joined Canonical (the software company behind Ubuntu) as a partner, to bring Linux support to Windows 11. In the Windows 10 Anniversary update, Microsoft introduced Windows Subsystem for Linux. And, in the fall creators update, it became a stable feature. Now you can run Ubuntu, Kali Linux, Debian, and OpenSUSE on the latest Windows 11 23H2. More Linux distribution support will be coming soon. If you’re a programmer or student and want to learn Linux Commands. Then, this article will help you to enable the Linux Bash Shell on Windows 11.
Also, I will tell you, how to upgrade the Windows subsystem Linux from WSL1 to WSL2. Since WSL2 offers a lot of new improvements.
What is Linux Bash Shell/Bash Terminal?
The first thing you need to know is that it is not a virtual machine or an application like Cygwin. It is a Linux system that works inside Windows 11. You can run the Linux Bash shell that you find in a Linux Distribution. And, it is based on Microsoft’s abandoned Project Astoria. That was started to port Android apps to Windows 10 Mobile. You can install Ubuntu and other Distro in Windows like a regular application. It is a good way to learn Unix/Linux commands. So no need to dual boot Linux and install a virtual machine. With Linux Bash Shell, you will able to run GUI-based Linux programs on Windows 11.
Linux Bash Shell is just the opposite of the Wine compatibility layer. That was developed to run Windows applications on an operating system like Linux, macOS, & BSD. In Windows, Linux Bash Shell allows you to run a Linux terminal and run Linux command-line utilities. That includes bash, ssh, git apt, and many more.
Linux Bash Shell Limitations.
Yes, there are some limitations. It doesn’t support background server software. And, it won’t officially work with graphical Linux desktop applications. Even, not all command-line applications work. But, you can Install some command-line applications like VI text editor. You can now even Install Linux Distros on Android Without Root. So, here’s how to download bash for Windows.
Enable the Linux Bash Shell on Windows 11
Enabling a Linux bash shell in Windows 11 is quite simple. You have to enable a few settings and features first. After that, you can download the Linux distribution of your choice from Microsoft Store.
Enable Windows Developer Mode.
1. Press the Windows + I key simultaneously to open the Settings App.
2. Click on System from the left pane.
3. After that, click on “For Developers”.
4. You will now see the Developer Mode option, turn it on.
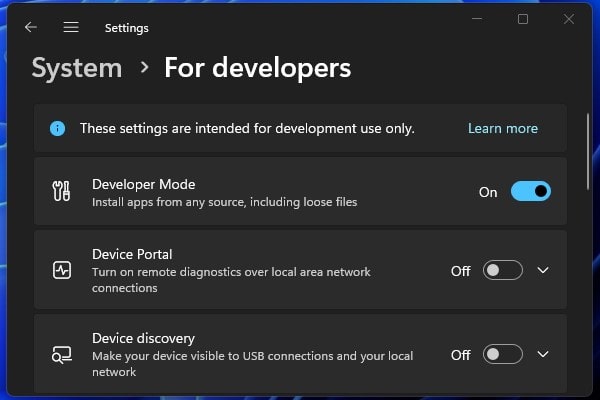
5. A confirmation Window will appear, click on Yes.
Turn on Windows Subsystem for Linux Feature
First, make sure Windows 11 is up-to-date, before you do enable these features.
1. Click on the Search icon in Windows 11 and look for “Turn Windows features on or off”. And, click on Open.
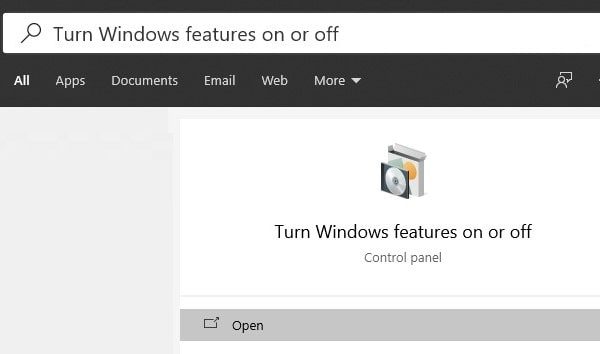
2. The Windows feature window will open. Scroll down and look for “Windows Subsystem for Linux” and “Virtual Machine Platform”, enable both options, and click on OK.
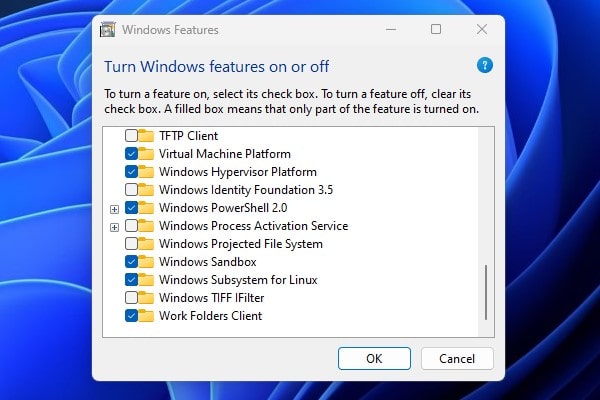
3. Once, both features get enabled windows will ask you to restart Windows. Click on “Restart now”. Or, you can manually restart Windows 11.
Enabling a Linux bash shell in Windows 11 is quite simple. You have to enable a few settings and features first. After that, you can download the Linux distribution of your choice from Microsoft Store.
Install Ubuntu from the Microsoft Store.
1. After rebooting Windows, Open the Microsoft Store and search for Linux. You can find out many Linux distributions in search results. If you’re trying Linux first time then Install Ubuntu App. Click on the Get and then Install button. Downloading Linux distro will download bash for Windows.
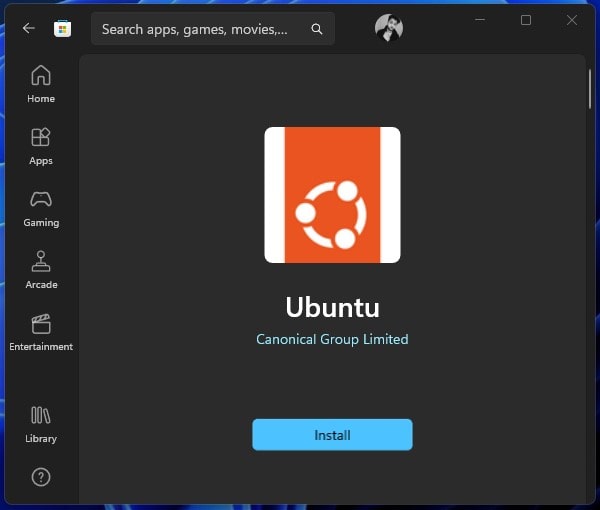
2. When the Ubuntu App installation is done. Do restart Windows again to apply changes.
3. Now, search for Ubuntu from the start menu and open it.
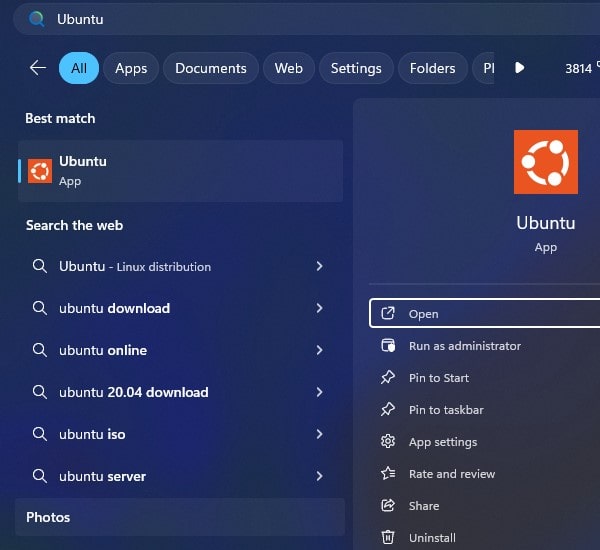
Quick Error Fix -If after opening Ubuntu App, you see an error. WslRegisterDistribution failed with error 0x800701bc. Then, you check our article on “WSL 2 requires an update to its kernel” to fix this error. Or, try the following quick fix.
- Open the link mentioned in the terminal.
- Download the “WSL2 Linux kernel update package for x64 machines” mentioned in step 4. And, do install it in your computer.
- After that, open Terminal (Admin) and run the following command – wsl –set-default-version
- That’s it, now close and reopen the Ubuntu App again.
4. Installing will appear.
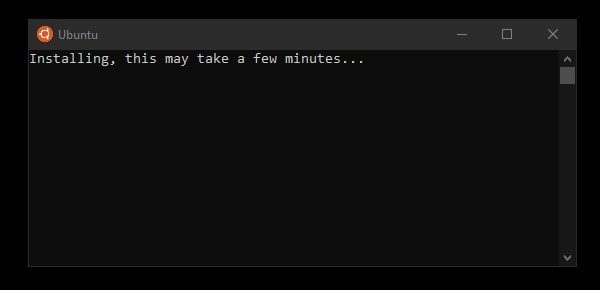
5. After that, It will ask you for a UNIX username and password. Enter a username of your choice and press enter. After that, enter the password and then retype the password to confirm.
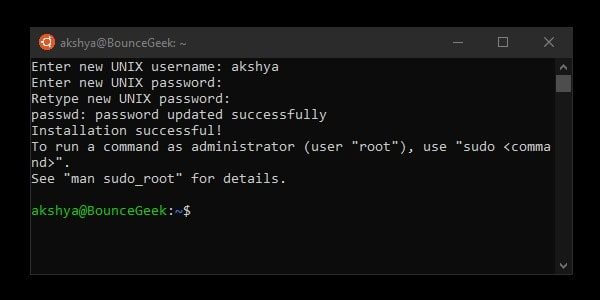
6. That’s it, You have enabled Linux Bash Shell on Windows 11. You can use many commands and will work flawlessly. Also, you can upgrade Ubuntu to the latest build with this command: Sudo apt upgrade. The first time when you run the command, linux bash shell might ask for the password.
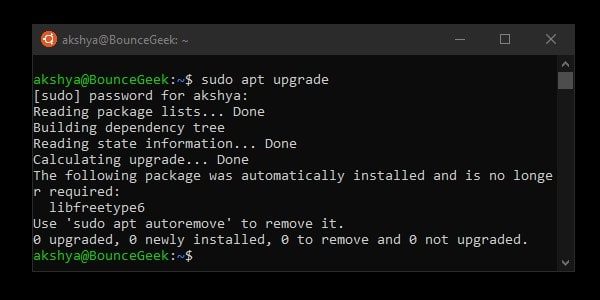
So that’s how you can install Linux Bash Shell on Windows 11. If you want to know, what you can do with it. Then feel free to Comment.
Shell Script Example
In the following Shell Script example, we will create a simple script that prompts the user for their name and then greets them. We will also save the script inside the greeting.sh file using Nano Editor. Which is a simple command-line text editor.
1. First open the Ubuntu App and log in using your details.
2. After that, type the following command. This will open a new file named greeting.sh in the nano text editor.
nano greeting.sh

3. Now, copy and paste the script content inside the file.
#!/bin/bash

# Prompt the user for their name
echo "Hello! What's your name?"
read name

# Greet the user
echo "Hello, $name! Nice to meet you."
4. Now, press Ctrl + O and then press enter to save the copied script inside the file. Now, press Ctrl + X command to exit from Nano Editor.
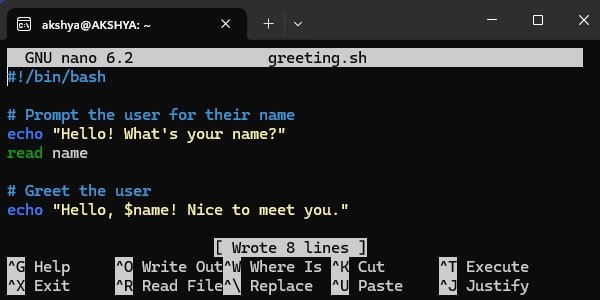
5. After saving the file in Linux bash shell type the following command to make the file executable.
chmod +x greeting.sh
6. Now, type the following command to run the script.
./greeting.sh
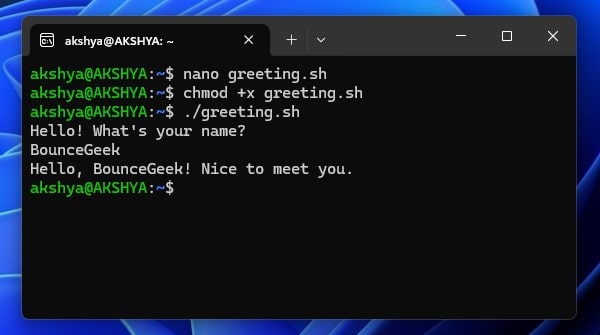
The script will now run type your name and the shell Script program will greet you. You can do a lot more with the Linux Bash Shell.
