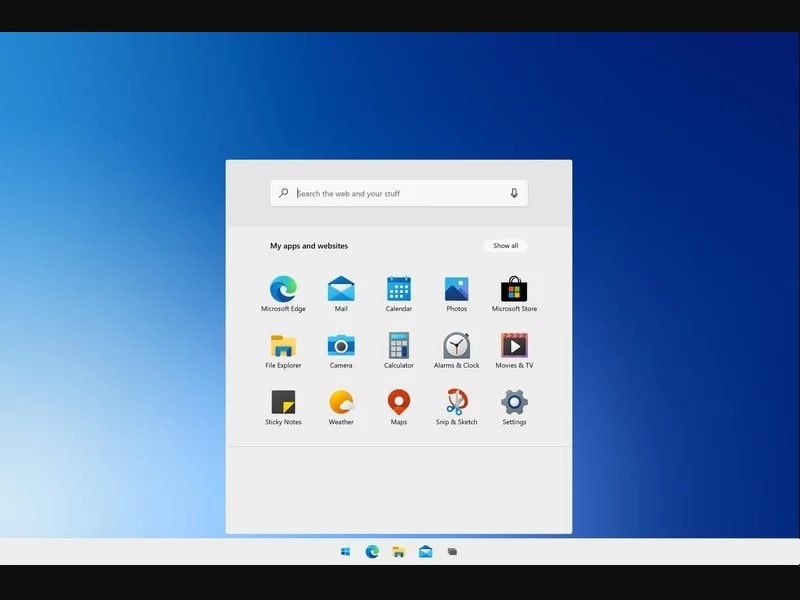
Windows 10X is a new edition of Microsoft Windows. That specially-designed for dual-screen devices like Microsoft’s Surface Neo. And, this new version of Windows will likely to come for all devices one day. In Windows 10X, all applications will work, as they do on Windows 10 home and professional versions. Basically, It’s not an entirely new OS, it is based on Windows Core OS. And, it is well optimized to provide faster user-experience. Because as per Microsoft, Windows 10X will take less than 90 seconds to install a big OS update. Also, applications installed by you will not mess with system files in Windows 10X. So, you will get better protection from rootkit-like malware. To make OS lightweight, Microsoft removed many things like live tiles. So overall, you will get faster updates, improved security, and more battery life.
Well, If you want to test Windows 10X now, then you don’t have to wait much longer. Because Microsoft has released Windows 10X Emulator for Windows 10. Though, the emulator is available for developers only. But, anyone can test it on their Windows 10 PC. Only, if your device meets the minimum requirements.
Install Windows 10X Emulator on Windows 10.
Windows 10X Emulator Requirements.
Installing Windows 10X Emulator isn’t rocket science. Because, it’s available on Microsoft Store, anyone can install with few clicks. But, to make it run on your computer, there are few software and hardware requirements.
Hardware Requirements.
- Processor – Intel Processor with at least four cores and virtualization support.
- RAM – 8GB minimum. (16Gb recommended.)
- Storage – 15-20 GB or more space. Use SSD for faster user-experience. (Windows 10X Emulator Image size is around 8GB.)
- Discrete graphics card required with DirectX 11 and WDDM 2.4 graphics.
Note: As of now, Emulator only supports Intel Processors. So, if you’re using an AMD processor, then it will not work.
How to check Processor core count in Windows 10.
You can simply use CPU-Z software to find out your Computer’s hardware Information. Alternatively, do open the task manager, click on Performance tab > CPU. Here you can find out cores count. (Or, press Ctrl+Shift+Esc)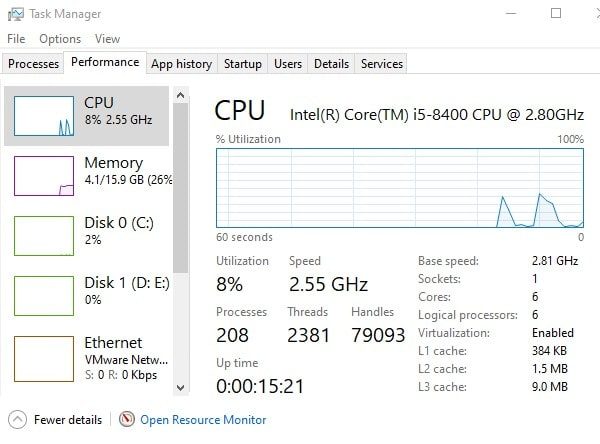
As you can see, I am using 6 core intel i5-8400 processor. So, Windows 10X emulator will easily run on my PC.
Software Requirements.
- Windows 10 version 19500.0 or higher. (x64) (You have to join Windows Insider Program and install a latest fast build of it.)
- Microsoft Hyper-V with GPU-PV. (For hardware-accelerated tasks.)
Important: Make sure that hardware-assisted virtualization, Second Level Address Translation (SLAT), and Hardware-based Data Execution Prevention (DEP) are enabled in BIOS or UEFI.
If you already using the latest Windows Insider Preview build, and, your device meets all requirements. Then, you can skip the steps, and can follow instructions to install Microsoft Emulator and Windows 10X Emulator Image.
Install the latest Windows 10 Preview Build.
Windows 10X emulator uses technology that currently under development. So, you have to install the latest preview build available in the fast ring. After that, you have to enable the Hyper-V virtualization from Windows Features.
Important: If you don’t know, Windows 10 Insider Preview is basically a pre-release build of Windows. That gets released for developers for testing purposes. And, after you upgrade, you may not able to rollback. The installation also can be failed, so create a full backup before proceeding.
If you have made your mind to Install Windows 10 Preview Build and test Windows 10X Emulator, then follow these steps.
(Join Windows Insider Program.)
1. Open Windows 10 Settings App. (Press Windows + I Hotkey.)
2. Click on Update & Security > Windows Insider Program. (From left pane.)
3. Click on “Get Started”.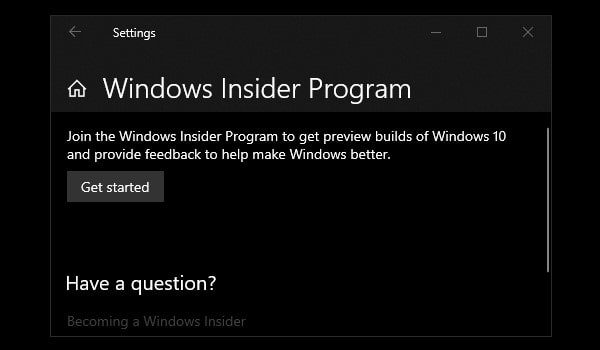
4. To get insider build updates, you have to join through your Microsoft Account. Click on Link an Account.
And, Select your Microsoft Account from the list. Click on “Continue”.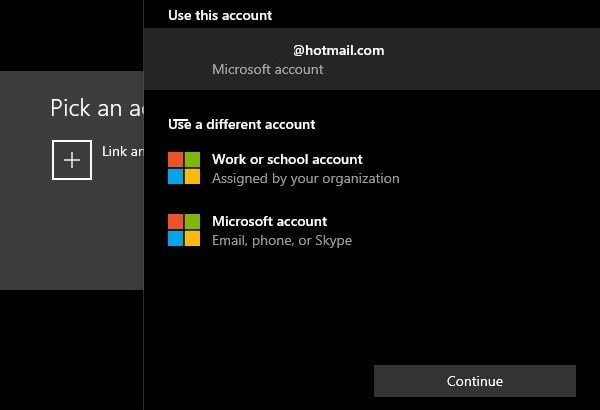
5. Pick your insider settings page will appear, select the fast option. Because the build required for Emulator is available only in “fast”. Click on Confirm.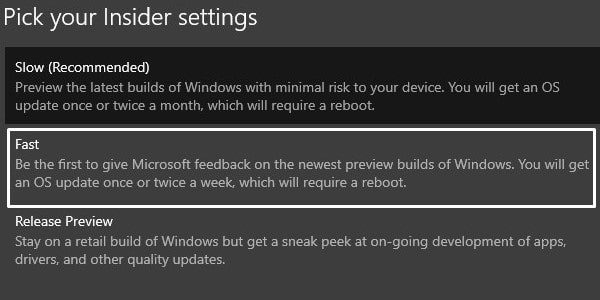
6. Once Again click on Confirm.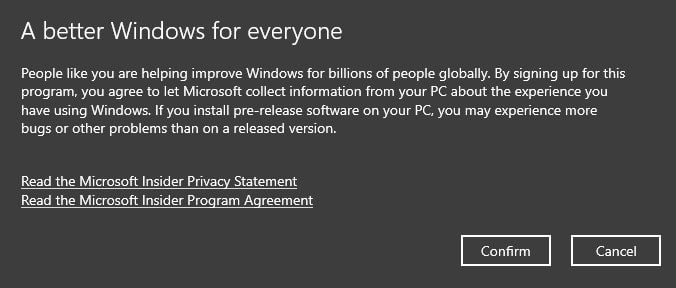
After that, the restart option will appear. Click on “Restart Now”.
Download and Install Windows 10 Insider Preview latest build.
After restarting the Windows, do open the Windows Update page (Settings > Update & Security.). And, click on the “check for updates” button.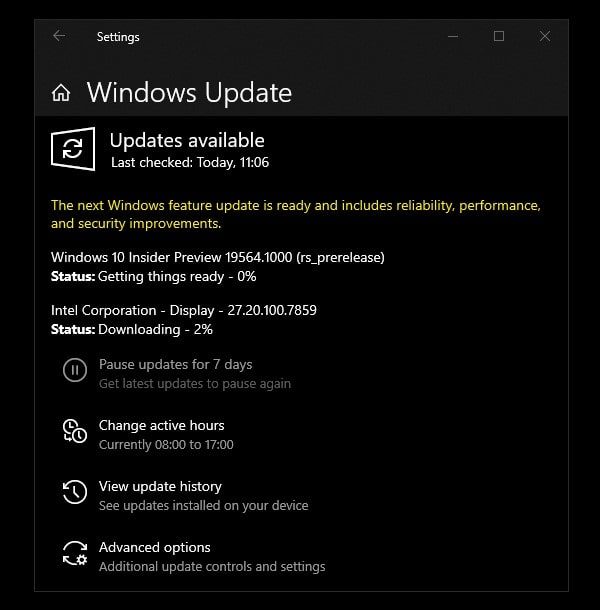
That’s it, Windows will now download and install the latest Insider Preview Build for you. As you can see, I got a 19564.1000 preview build update. That is higher from Windows 10 version 19500.0 required build. It will enable you to install Windows 10X Emulator Image download. If you try to install in Windows version 1909, the install button will not work.
Enable Microsoft Hyper-V Component.
Hyper-V is a virtualization technology available on Windows 10’s Education, Enterprise and Pro. It allows us to create a virtual machine and run a different operating system. Hyper-V also required to run Windows 10X Emulator in Windows 10.
Check Hyper-V Support.
1. Open Command Prompt as Administrator. (Search “CMD” in Windows 10 search box. Right-click on Command Prompt, and, click on “Run as administrator.)
2. Type the following command and press enter.
systeminfo.exe
3. If in Hyper-V Requirements section. Results are Yes then you can run Hyper-V. (And, if it shows no, then you have to enable it manually.)
Enable Hyper-V Support.
1. Go to Settings App > Apps.
2. Under Related Settings, click on “Program and Features”.
3. Click on “Turn Windows features on or off”. (From the left pane of the control panel.)
4. In Windows Features Window, look for Hyper-V. Enable it and click on OK. After that, restart Windows. That’s it, now your computer is ready to run Windows 10X Emulator.
Install Microsoft Windows 10X Emulator.
1. Open Microsoft Store, and, search for “Microsoft Emulator”.
2. Select the application from search results. Click on Get > Install. (Emulator size is less than 30MB.)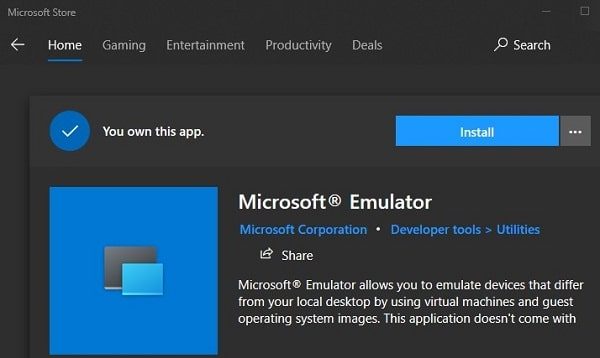
3. After installing Emulator, search for “Windows 10X Emulator Image”.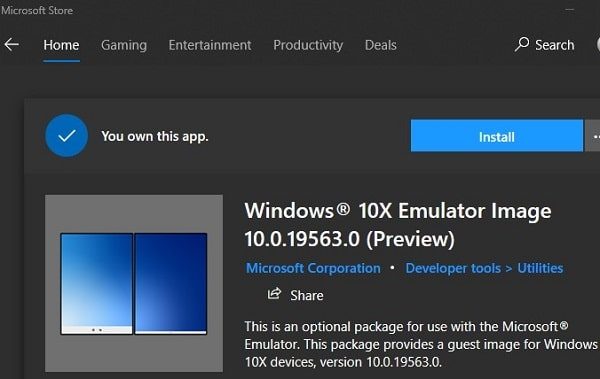
4. Click on the emulator image from search results. Click on Get and then Install. (This will take time because image size is around 8GB.)
After installing Windows 10X testing Image. Microsoft Emulator will detect it automatically.
So, Do open Microsoft Emulator, you can see Windows 10X Emulator in it. Click on “Start”. That’s it, Emulator will now launch. On the right side controllers will appear. That will let you take screenshots, control volume, navigate and turn off the emulator.
