Are you looking for a way to video record yourself presenting PowerPoint Slides? Well, no worry, in this guide, you will find step-by-step instructions.
After the pandemic, work from home has increased. In addition, it also increased the need of recording PowerPoint presentations with audio and video. If you’re using Office 2021 or Microsoft 365, then you will get a built-in option to record slideshows. However, if you’re using Microsoft 365 online version or Google Slides, then you will not get such an option. Although, still you can manage to record your screen with a webcam and audio. Yes, all these processes seem complicated, but actually quite easy.
Video Record Yourself Presenting a Powerpoint
Are you using the latest version of Microsoft Office 2021? Then you don’t need to use any third-party software to record PowerPoint presentations. Because PowerPoint comes with an inbuilt option to Record Slideshow. It also allows you to select your webcam and microphone to record. So that, you can record yourself presenting a PowerPoint presentation.
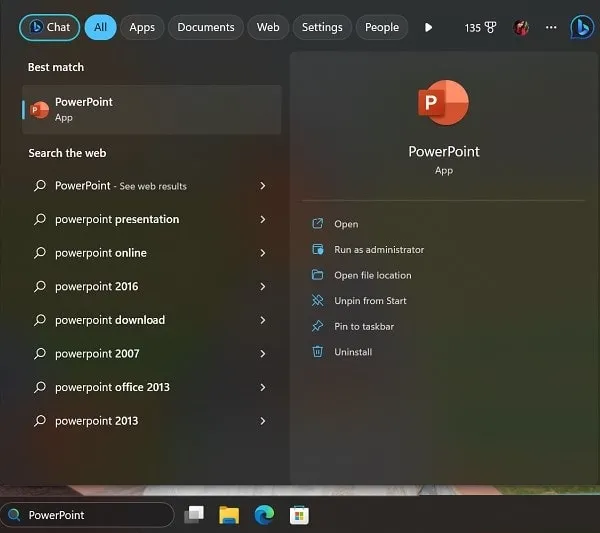
1. First, open Windows Search and search for PowerPoint App. Do open PowerPoint App.
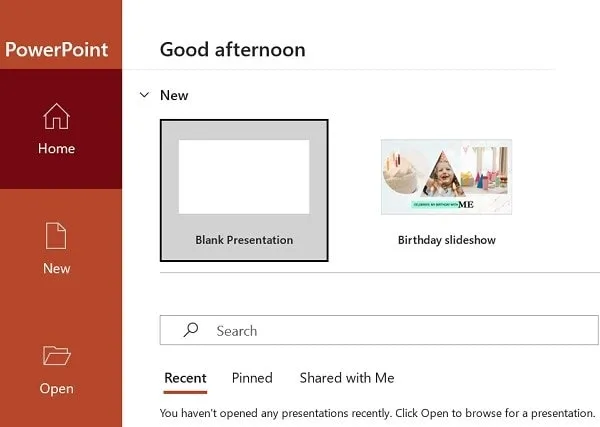
2. Click on Blank Presentation.
3. New Presentation Project will get open, now use slides and create a new PowerPoint Presentation.
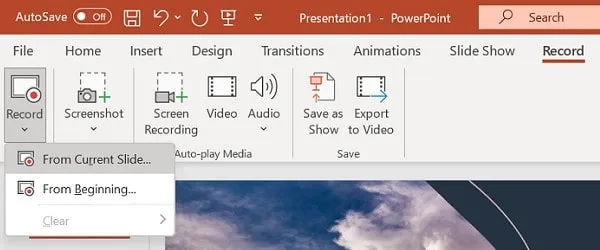
4. After that, from the PowerPoint menu, click on Record.
5. Record menu will get open. Click on Record > From Current Slide.
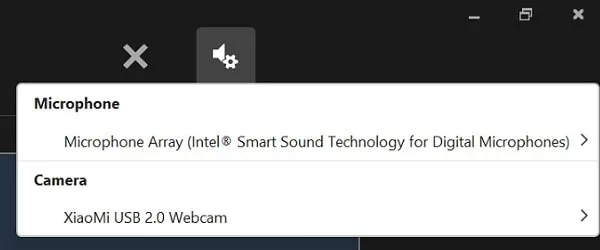
6. PowerPoint Recording screen will get open. Now, from the upper right corner of the screen. Click on the speaker settings icon. Now, do select your Webcam and Microphone.
7. Once you see yourself in the webcam, click on the Record button. And, recording will get started. Do record your PowerPoint presentation.
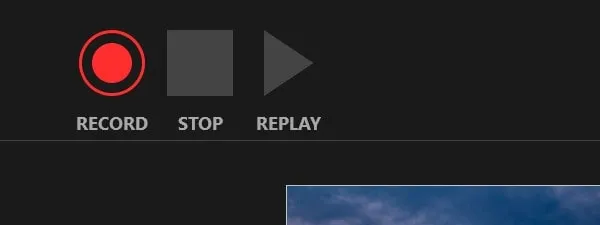
8. Once the Recording gets completed, click on Stop. Slideshow will get ended, press the Esc key to exit from SlideShow.
9. Now, to save the video, click on “Export to Video”.

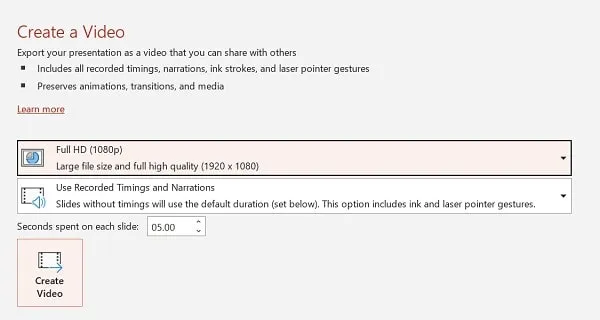
10. Export Screen will appear. Select Video quality, and click on Create Video.
11. Save as window will appear, select the videos folder, and click on Save.
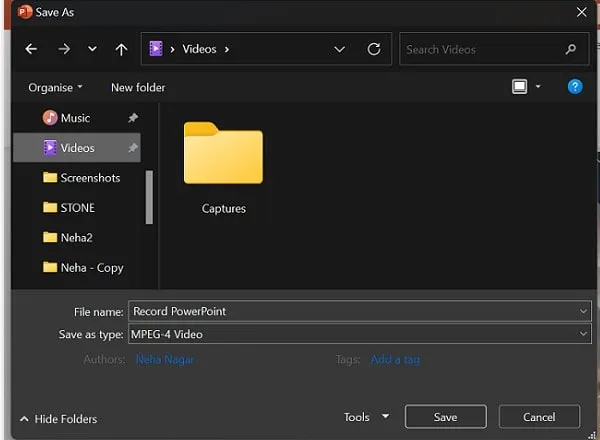
12. Now, open File Explorer, and you will find the PowerPoint Recorded File.
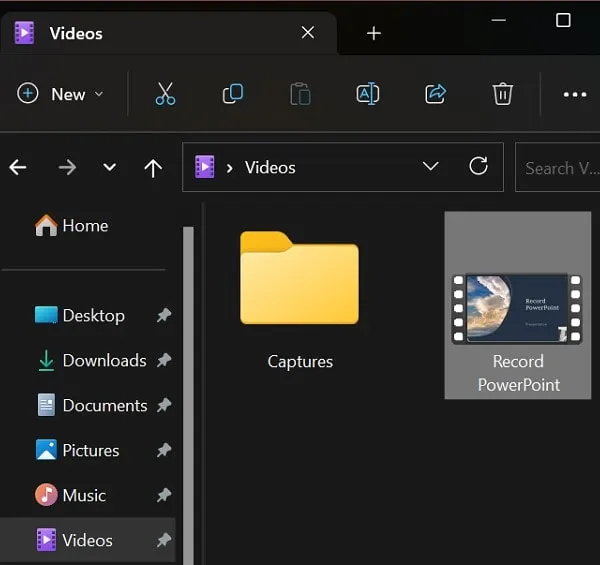
So, that’s how you can screen recording in PPT.
Record Google Slides Presentation with Video and Audio
If you’re someone who prefers using Google Slides over Microsoft PowerPoint. Then, you might be trying to figure out – how to record a slideshow with Webcam. Yes, there are some Screen & Audio recorder extensions available for PowerPoint. But, these extensions require so many permission and aren’t completely free. That’s why, it would be better if you use OBS Studio.
OBS Studio is a completely free and open-source screen recording and streaming app. It is available for all major platforms like Windows, macOS, Linux, and BSD. With OBS Studio, you can record Google Slides with a webcam and microphone. Even, you can record PowerPoint presentations as well using this method.
Create a Slide Show on Google Slides
First, do open your favorite web browser, and open Google Slides Website. And, do Sign In using your Google Account.
After that, Click on Blank to open a new Google Slides project. That’s it, now create slides for your presentation.
Download and Install OBS Studio
1. Do download OBS Studio from its official website.
2. Once, the OBS Studio setup gets downloaded. Do right-click on it, and click on “Run as administrator”.
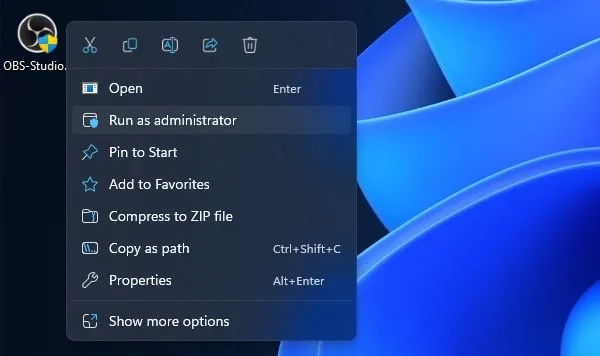
UAC Window might appear, click on Yes.
3. OBS Studio Setup Window will get open, do install it on your Computer.
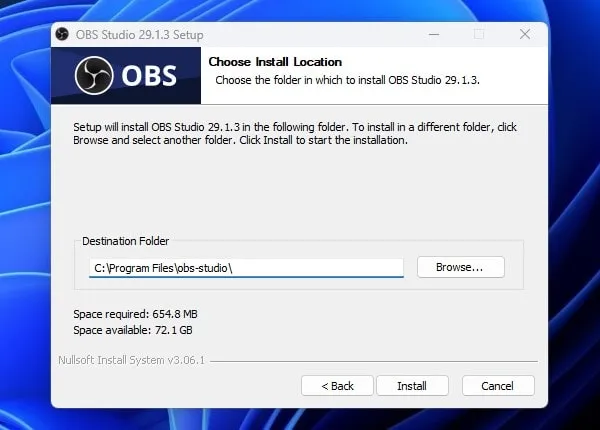
4. Once, OBS Studio gets installed. Keep the “Launch OBS Studio” option selected, and click on Finish.
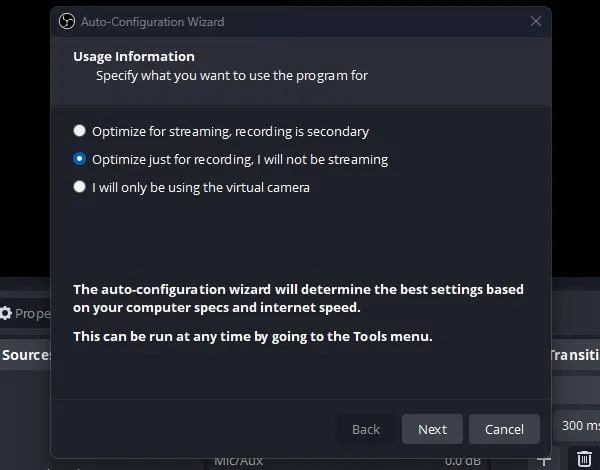
5. OBS Studio will open with the “Auto-Configuration Wizard” window. Select “Optimize just for recording, I will not be streaming”. Click on Next.
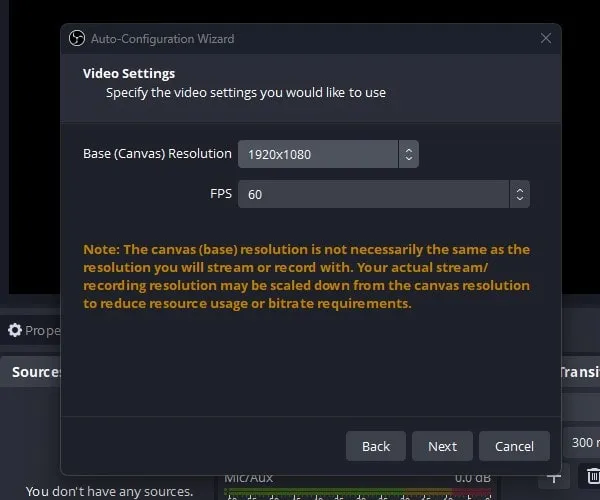
6. Next, the Video Settings window will get open, do select the base resolution and FPS as per your screen. Click on Next.
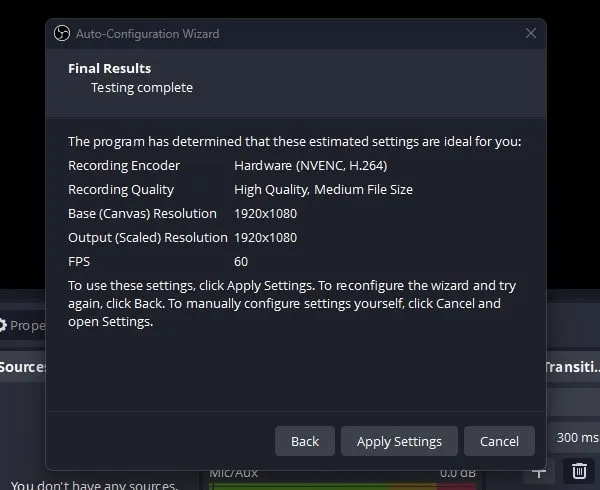
7. OBS Studio will now show you all configured settings, click on “Apply Settings”.
Setup OBS Studio and Record Google Slideshow
1. In the Sources section, click on the “+” icon, and after that click on “Window Capture”.
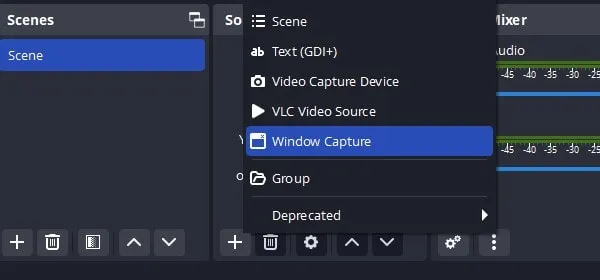
Note: If you want, you can select the “Display Capture” option to record the entire desktop. But since here we want to capture Google Slideshow only. That’s why, I am using the “Window Capture” option.
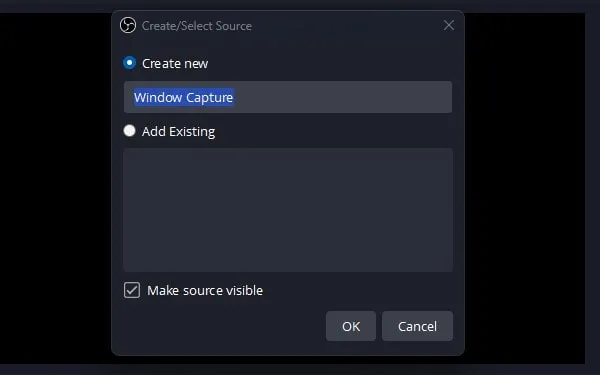
2. Create/Select Source window will appear, click on Ok.
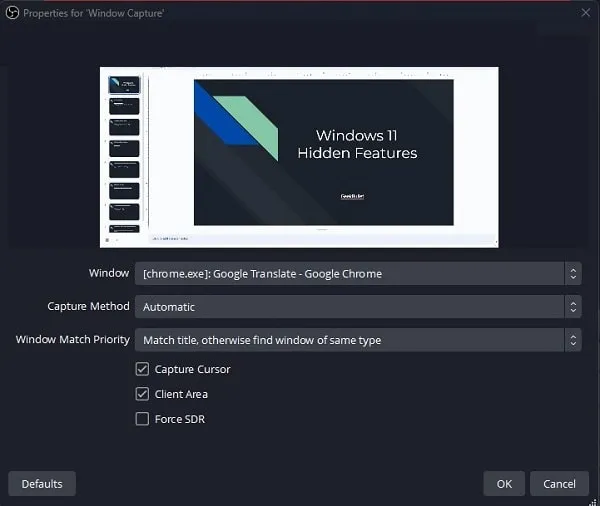
3. Properties for the “Window Capture” screen will appear. Do select “Chrome” in the Window option. And, keep other settings unchanged, Click on OK.
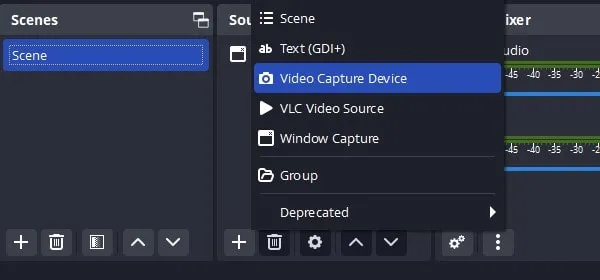
4. Now, do again click on the + icon in sources, and you will get the “Video Capture Device” option. Click on it.
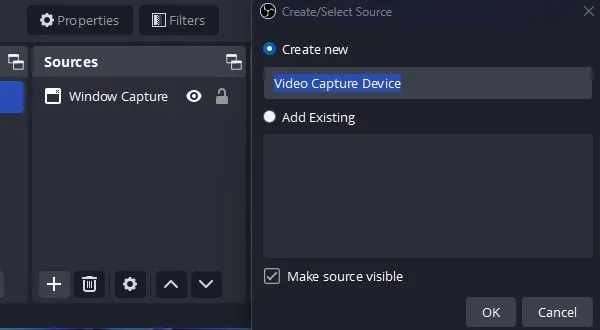
5. Create/Select Source window will appear, click on ok.
6. Properties for the “Video Capture Device” screen will appear. Do select your webcam and Click on ok.
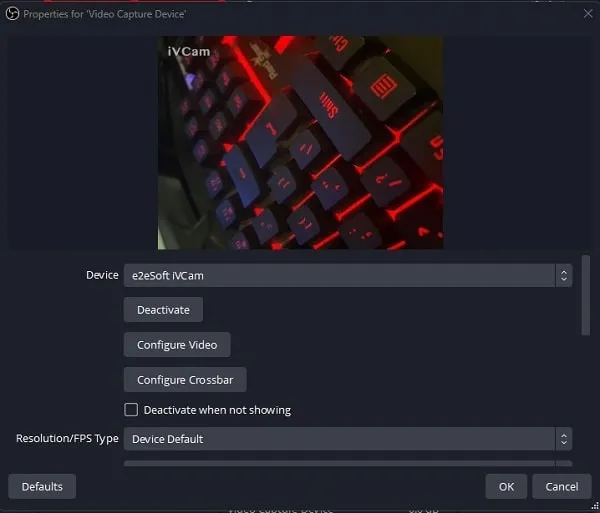
Note: If you don’t have a webcam then you can use your Android Phone as a Webcam. Even, if you’re an iOS user, then you can use iPhone as a Webcam.
7. You will now see a webcam window over your Google Slides window. Do set your webcam as you want in the recording. You can drag and resize the “video capture device” window.
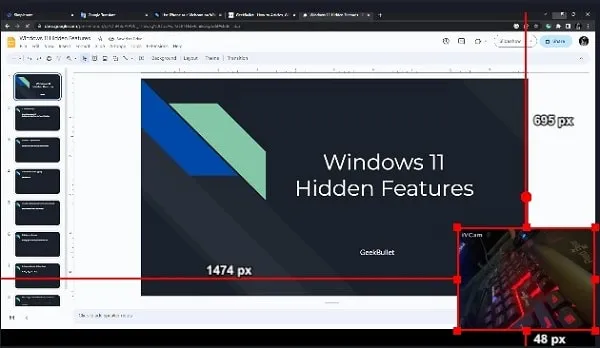
8. Now, before we start recording we have to set up Microphone Settings.
9. In Audio Mixer you will find Mic/Aux settings. Click on the three-dots icon and click on properties. (You can also mute desktop audio if you like, by clicking on the speaker icon.)
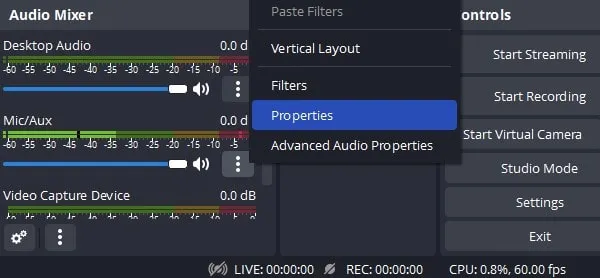
10. Mic Properties window will appear. Do select your microphone and click on ok.
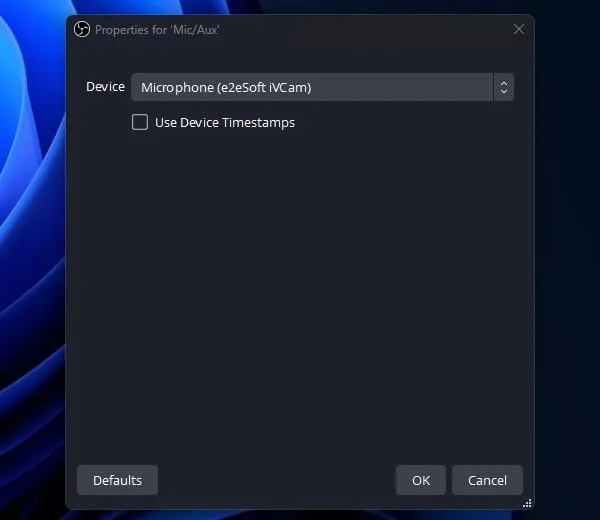
11. That’s it, click on Start Recording Button.
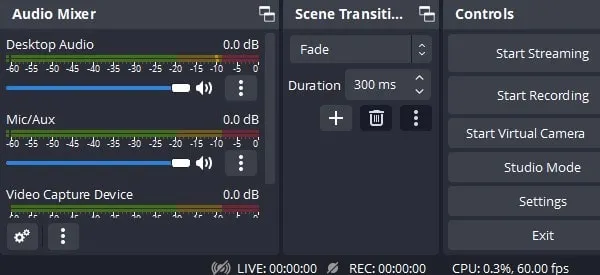
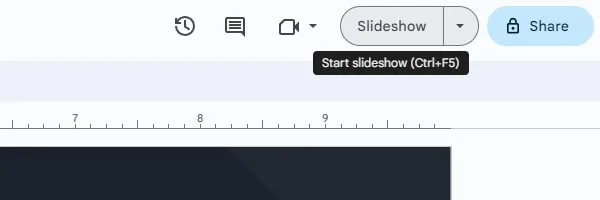
12. Recording is now started. Do open Google Slides Window. And, do press Ctrl + F5 to start the slideshow. Or, simply click on the Slideshow option. (You just have to click anywhere on the screen to move to the next slide.)
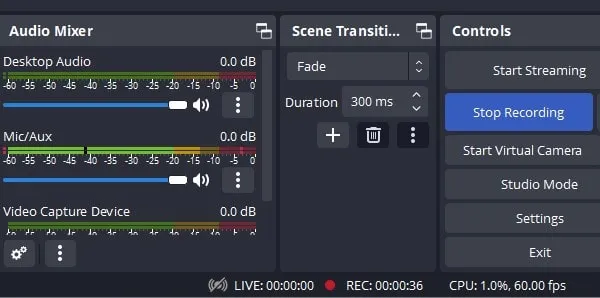
13. Now, do complete your presentation. Press the Esc key to exit from the full screen. Do open OBS Studio and click on “Stop Recording”.
14. That’s it, you have successfully recorded yourself doing a Presentation in Google Slides. Do open File Explorer > Video. And, here you will find the recording of the presentation with the webcam.
15. Since we have used Window Capture, so you will only see the Google Slides window. However, if you’ve captured the screen, then you can use CapCut or Clipchamp Video Editors.
