
Due to the COVID-19 pandemic, working from home, becoming a necessity for many people. And, video conferencing applications are becoming a life savior for many people. A good webcam is crucial for video calls. Only a few high-end laptops come with a good webcam. That’s why using an external webcam becomes a choice for many. But, before you spend your money on a costly webcam. I suggest you try to use your iPhone as a webcam. And, you all know, how good iPhone/iPad front and rear cameras are.
Yes, It’s quite easy to use the iPhone and iPad as a webcam. But, you can’t just expect, iPhone to work as a webcam by connecting via lightning cable. For that, you need to install an app on your iPhone/iPad, and a companion app on your Windows PC/Mac. Well, setting up these webcam Apps is quite easy. My favorite App for this purpose is iVCam. I will also introduce you to some of the iVCam alternatives. But, this app itself would be enough.
Use iPhone as a Webcam on Windows
Use Camo Studio App
With Camo Studio, you can turn your iPhone and Android Camera into a Webcam. It does offers wired and wireless connectivity. Your smartphone and computer should be on same Wi-Fi network. Camo Studio allows you to use virtual green screen. Means, you don’t need actual green screen, you can simply apply background to your webcam. However, this feature is limited for iPhone users only. You can also change camera lens, resolution and frame rate. Even, app offers option to use iPhone mic to use it with your webcam. Moreover, you get so many image adjustments options.
1. Do install Camo Studio App from Microsoft Store.
2. Also, do install Camo Studio App from App Store or Play Store.
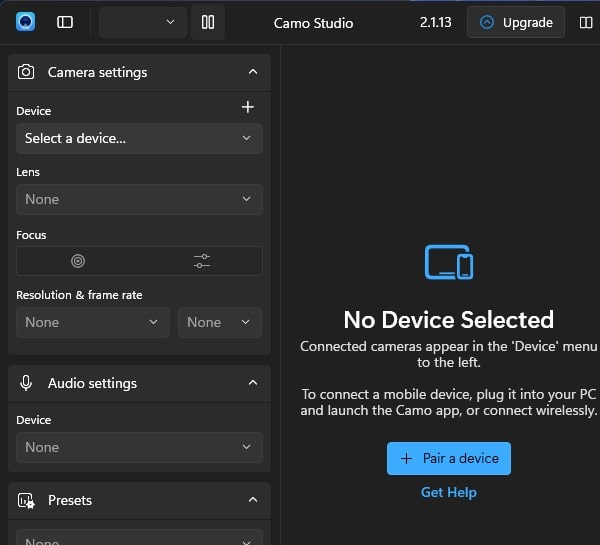
3. Open Camo Studio App in Windows. And, do Complete the initial setup process and after that, click on “Pair a device”
4. A QR Code will appear on the screen.
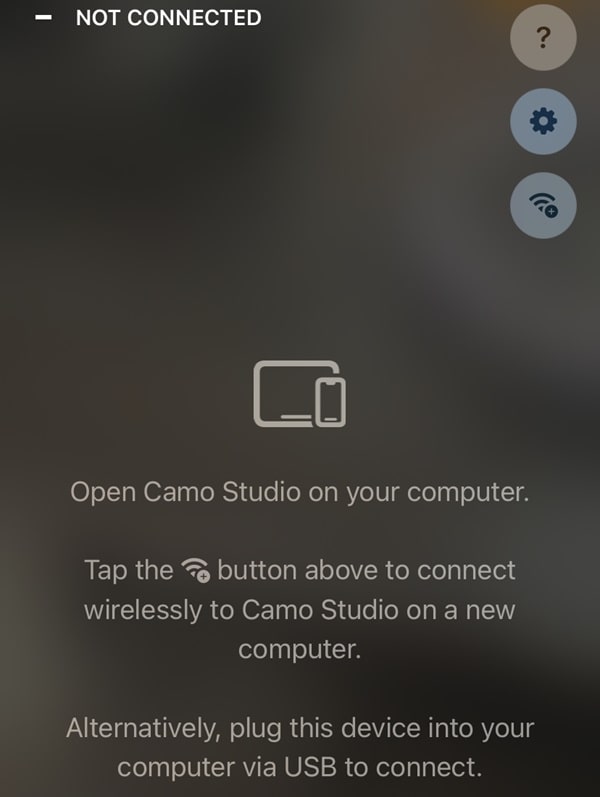
5. Now, open Camo Studio App in iPhone. Tap on Wi-Fi icon from upper right-corner of the screen.
6. Scan the QR Code and your smartphone camera will now connected to Camo Studio App as Webcam.
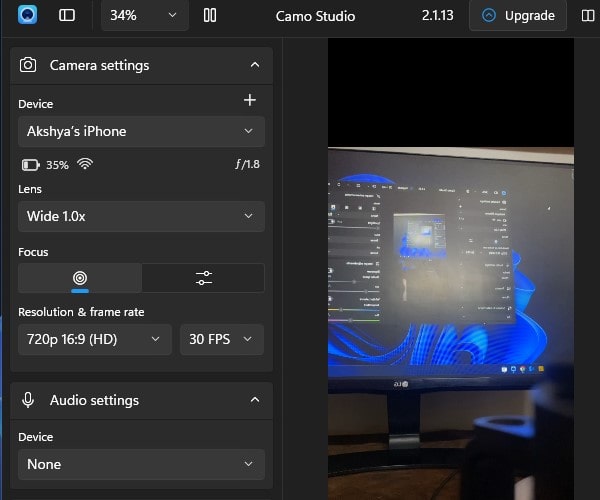
Now, you can try different settings as per your need. You can remove watermark, add background, apply green screen filter, change audio settings, change video resolution and frame rate. Even, can switch between camera lens. You can now easily use Camo Studio App with third-party apps (like, zoom, OBS Studio), just select camo in webcam settings.
iVCam Webcam
iVCam is an Android/iOS App to use a smartphone as an HD webcam, on Windows PC. This App is the perfect replacement for the USB webcam or integrated webcam. App offers both wireless and wired connectivity options. And, it does support all webcam-enabled applications like Zoom, Skype, and even Streamlabs OBS. It supports front and as well rear camera, and provide real-time switching.
Also, it supports video quality from 360p to up to 4k. You can also use your smartphone as a PC Microphone. But for that, you have to install and configure e2eSoft VSC (Virtual Sound Card). Though, iVcam provides most of the features for free. But, if you want to remove the watermark and ads then you can go for the premium version of it. For the Pro version, You have to pay $10 through in-app purchases.
Note: I faced some latency issues in the wireless connection. So, I recommend you try the “Connect via USB” option. Though, If you want to connect wirelessly then both iPhone/iPad and Windows PC should be on the same WiFi network.
1. First, Install iVCam Webcam App on your iPhone from App Store. Open App, and give it all the required camera and microphone permission.
2. After that, download iVCam Windows Client Software. And, run the setup file and install it on your PC.

For USB Method – Install the latest version of iTunes on your Windows PC. And, connect your iPhone/iPad with a USB Cable. (Make sure the Apple device driver is successfully installed and the Apple Application support service is enabled. And, keep iTunes App opened.)
3. That’s it, open the iVCam App on both, Windows and iOS devices. iVcam iOS App will automatically detect and find iVCam on your PC. Tap on Play Icon to connect.

You will be able to see webcam preview on both PC and smartphone simultaneously. Even, you can even switch the camera from front to rear or vice-versa.
Note: For the wireless method, you don’t need to download iTunes. Just make sure the PC and iPhone are on the same WiFi network. And, App will show you “Found iVCam on PC”. Just tap on the play icon to connect.

By tapping on settings (gear icon), you will be able to configure Video Size, Orientation, Frame rate, and Encoder Quality. You can access the same settings page in Windows iVCam App. Click on the menu icon from the bottom right corner, and click on settings.

Use a Smartphone as a microphone.
Yes with Webcam, you can also use your smartphone’s inbuilt mic as a PC microphone. But, for that, you have to install Virtual Sound Card software. And, the pro version cost $19.95. At this price, you can get a decent microphone. So, it’s not worth trying it. Though, If you still want to try, then you can download the e2eSoft VSC trial version.
EpocCam (iVCam Alternative)
EpocCam is another iOS App that helps to use iPhone/iPad as a Webcam. This App is free but comes with many restrictions in the free version. It supports only Up to 640 x 480 pixels resolution. EpocCam also comes with ads and watermarks. Though, with the pro version you can get Full HD video output, can use the flashlight, and remove ads and watermarks. The connectivity process is similar to iVCam.
Use iPhone as Webcam in third-party Apps
Both iVCam and EpocCam Apps do support almost all video conferencing and streaming Apps. You just have to set iVCam as the default video output on the video calling Apps. Ok, After establishing a successful connection of iPhone/iPad as webcam. Let’s configure the webcam in Zoom, Skype, and OBS Studio/Streamlabs OBS.
Zoom
Open Zoom Windows App. Click on the gear icon from the upper right to open the settings page. Click on the camera. And, from the drop-down menu, select “e2esoft iVCam”. You will see the video preview. Close the settings page.

Skype
Download and install Skype App, and open it. Press Ctrl + Comma to open the settings page. Click on Audio & Video and select “e2esoft iVCam” as your default webcam.

Streamlabs OBS
Open Streamlabs OBS Application on Windows PC. In the Source section, click on the “+” icon. Select the Video Capture device and click on Add source > Add source.
In the mixer section, you will see a webcam will appear. Click on the settings icon next to the webcam. And, click on properties.
Now, in the device select “e2eSoft iVCam”, click on “done”.

That’s it, you have successfully configured iVCam in OBS. You can now use iPhone/iPad as a webcam for streaming as well. If you’re an Android user then read my article “Use Android Phone as a Webcam“.
Use iPhone as a Webcam for macOS
If you’re a Mac user, then you don’t need to install any third-party software. Because the latest macOS Ventura and iOS 16 come with a Continuity Camera Feature. That allows you to use iPhone as a Webcam wirelessly. You just have to enable a few things. And, after that just keep your iPhone closer to your Mac. And, macOS will automatically detect your iPhone.
1. First, make sure you’re using macOS Ventura and iOS 16. So, do check for updates first on your MacBook and iPhone.
2. After updating to the latest OS, make sure both Mac and iPhone are connected to the same WiFi Network. Also, both devices should be on the same Apple ID.
3. Now, Turn on Bluetooth on Both Mac and iPhone. Don’t connect any Airpods, Apple Watch, or any Bluetooth device to your Mac and iPhone. Just keep Bluetooth turned on.
4. Open iPhone Settings, and go to General > AirPlay & Handoff.
5. In AirPlay & Handoff settings you will find the “Continuity Camera” option. Do enable it.

6. That’s it, now open Photo Booth App. And, the “Use iPhone as a Webcam” window will appear. (Make sure iPhone is closer to Mac).
7. If it doesn’t show up. Then, simply click on the Camera option and do select your iPhone Camera.

8. That’s it, in your iPhone, you will see a “Connected to Macbook” screen will appear. And, Mac will start using your iPhone camera.

9. By clicking on the control center icon you can also apply video effects.
10. There are three video effects that you can choose from – Centre Stage, Portrait, and Desk View.

So, that’s how you can use your iPhone Camera in FaceTime, Photo Booth, Zoom, FaceTime, and other Apps.