
No matter how expensive your computer (laptop) might be, they lack a good quality microphone. Most of us prefer using an external microphone or headphones, so the manufacturer tends to use low-quality mics on laptops. Though, the Android smartphone comes with a very good quality microphone and noise cancellation feature. And, If your Computer lacks a microphone, and you don’t have any external Microphone. Then, you can use Android Phone as Mic for Windows PC.
Yes, In order to record songs, you definitely need a good microphone. But, for chatting with friends over Skype, talking tactics on a game in Discord. You don’t need to spend a penny on a new mic. Because the smartphone in your pocket is enough. Well, in order to use your Android Phone as a Microphone for Windows PC, you have to set up a few things first.
Use Android Phone as Mic
WO Mic App.
Wo Mic App can turn your Android/iOS smartphone into a Wired/Wireless Mic for PC/Mac. And, you can use it for voice chatting, recording and voice remote control, and many other activities. It provides a few connectivity options like Bluetooth, USB, and WiFi. Though, I personally prefer using the USB Method. Because you might face latency issues in the Wireless method. And, to use the WiFi option, you have to make sure both PC and Android should be on the same WiFi network. (For iPhone only WiFi option is available.)
The best part is you can use it with any program on PC, just like a real Mic. Yes, you have to set up it as a default Audio Input device first. WO Mic is easy to configure and comes with an auto reconnection feature. The noise cancellation features are also available, we will configure them during the setup process.
Install Wo Mic App on Phone and PC.
Install WO Mic App on Android. (It will capture your voice from your smartphone mic, and transmit it to a PC.)
WO Mic Installer for Windows (Basically, It’s the WO Mic Windows App, that will receive voice data and pass it to Virtual Mic Device.)
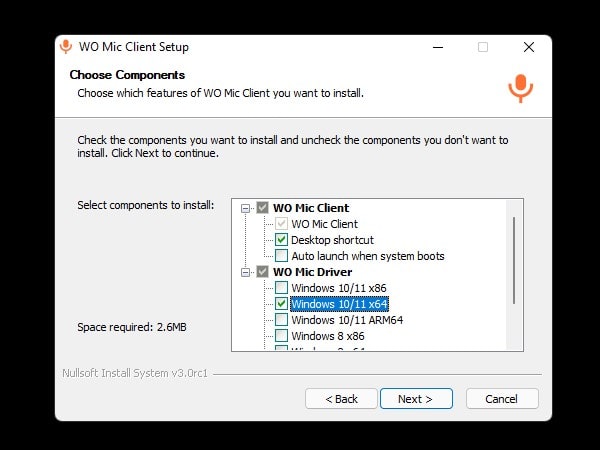
1. Once the “WOMicClientSetup.exe” setup file gets downloaded, run it as administrator. And, do install Wo Mic Client and WO Mic Driver on your Windows 11/10 PC.
It will receive data from the WO Mic Client program and simulate a real microphone device. And, it will provide the data to Applications that require Mic. WO Mic Driver is available for all versions of Windows.
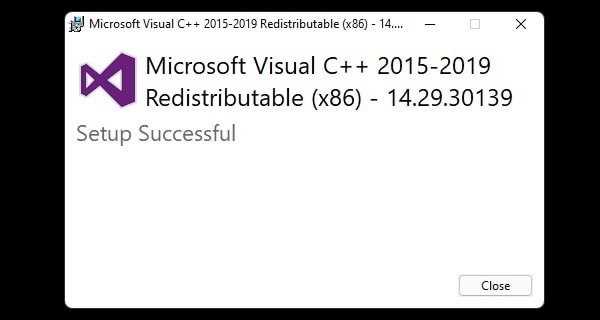
2. Install VC runtime on PC – Apart from WO Mic App, you also need to install VC runtime. You can find the download link on the WO Mic Website.
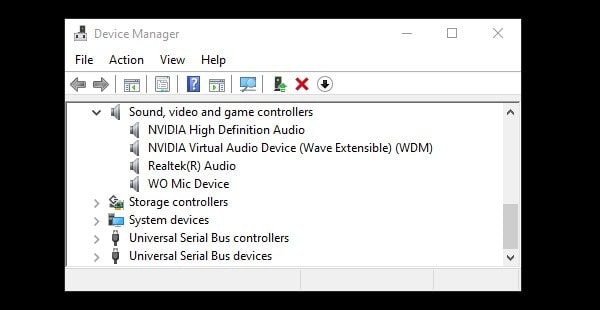
3. After installing it WO Mic Virtual Device will be created. To verify it, Press Windows + X key to open the WinX menu, and click on “Device Manager.
4. In the device manager window, click on > to expand “Sound, video, and game controllers”. And, you will see that “WO Mic Device” listed there.
5. That’s it, now you can use WO MIC Android App as Microphone for Windows Laptop/PC.
USB Method.
By default, WO Mic App comes with USB Transport selected. So, let’s begin with this method. Before connecting your smartphone to a PC via USB Cable. You have to enable USB Debugging on your smartphone. To do that, follow these instructions.
Enable USB Debugging.
- Developer Options – USB Debugging feature is buried inside developer options. To unlock developer options, go to settings > About phone. And, tap 7 times on “build number”.
- Developer options will now be visible inside Settings > System. (In your smartphone, it might show up in a different section. Do a search for it.)
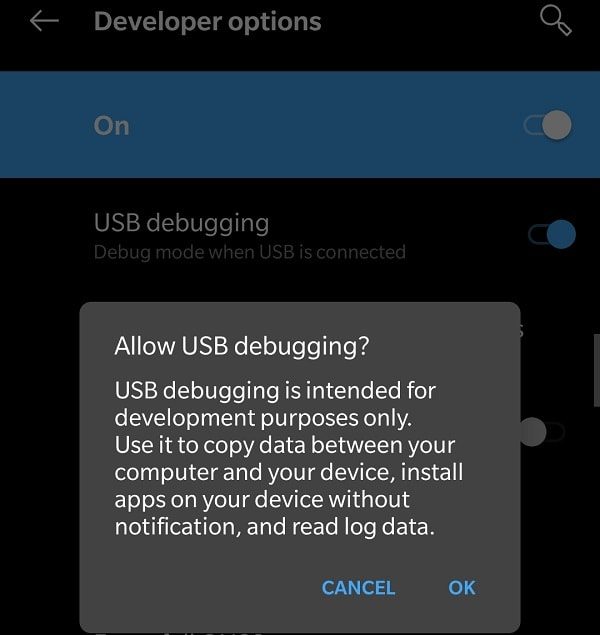
- Scroll a little bit in developer options and you will find “USB Debugging”. Tap on it, and then tap on “ok” to enable it.
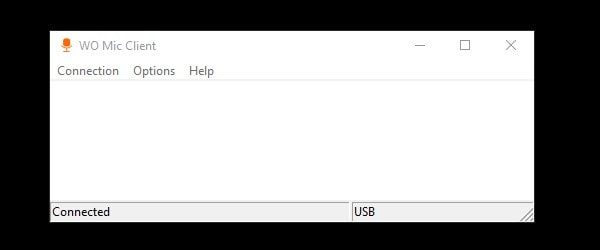
1. First, open the WO Mic Client on your Windows Computer.
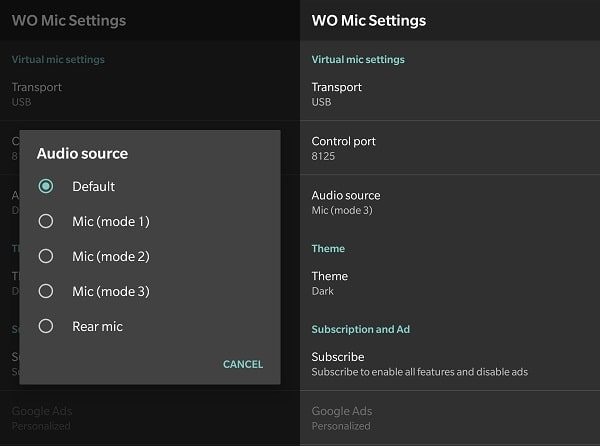
2. After that, Open WO Mic App on an Android smartphone. Tap on the three dots icon and then tap on settings. First, make sure in Transport “USB” is selected.
3. Now, tap on the audio source and select “Mic (Mode 3). This mode will work as a noise cancellation feature. (All mode information is available on the WO Mic webpage. And, you can keep it on default, or select “Rear mic”.)
4. Go back to App’s homepage and tap on the “Play” icon and then “Allow” for Audio Permission.

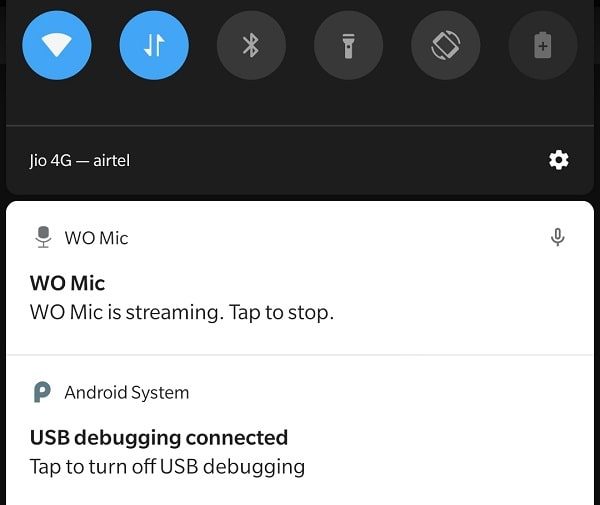
3. Connect your Android Smartphone to your PC, and make sure it is connected via USB Debugging. (You can check from the notification section.)
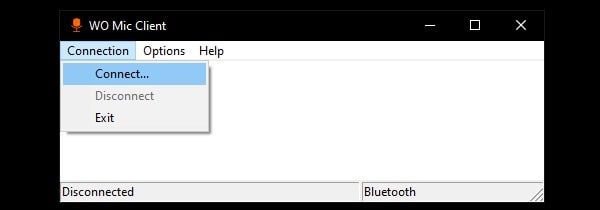
4. Now in WO Mic Client on Windows PC. Click on Connection > Connect.
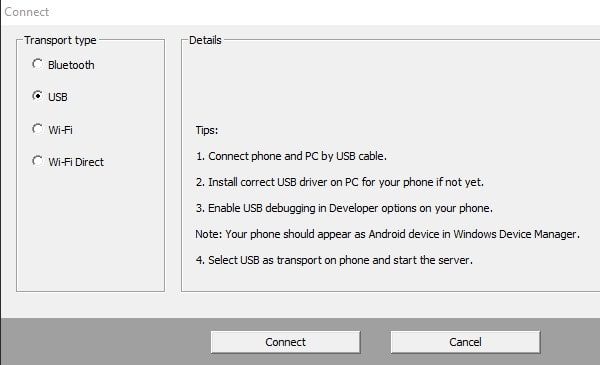
Connect Window will appear, select “USB” and then click on Connect.
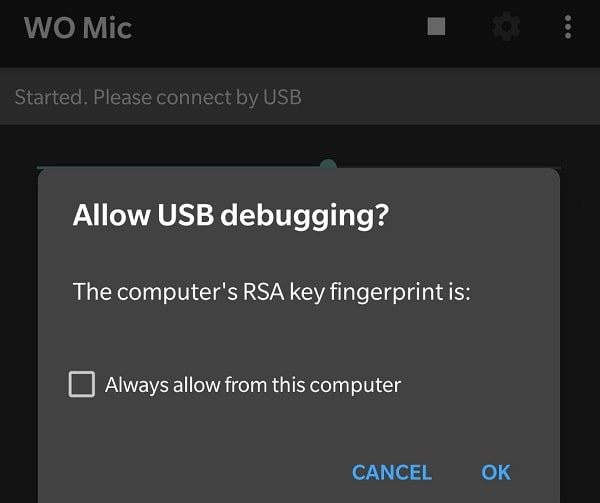
5. Allow USB Debugging” prompt will now appear on your Android screen, tap on OK.
6. If you see a “Failed to connect to server” error. No need to worry, Again go to connections > connect. And, this time, you will see “connected” will appear in the bottom left corner of the client.
7. If you want to disconnect the microphone, in the Android notification bar, It will show you, “WO Mic is streaming. Tap to stop”.
Change Default Input Device Windows 11.
After creating a virtual Android Microphone, you also need to change your default Microphone. In Windows 11, by changing the input device, you can do so. If you don’t change your input device to WO Mic App, then the Android microphone will not work.
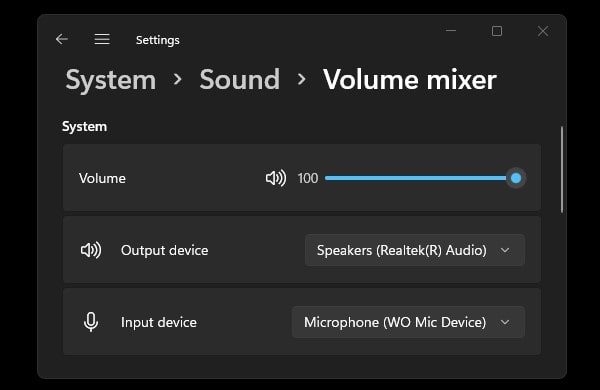
1. Do, right-click on the speaker icon and then click on Open Volume Mixer.

2. Now, in the Input device, do select “Microphone (WO Mic Device)”.
Set as Default Recording Device in Windows 10/8/7.
To use your Android Virtual Microphone in voice recorder and other Apps. You have to set it as the default recording device.
1. Do open Control Panel, and search for “Sound” in it.
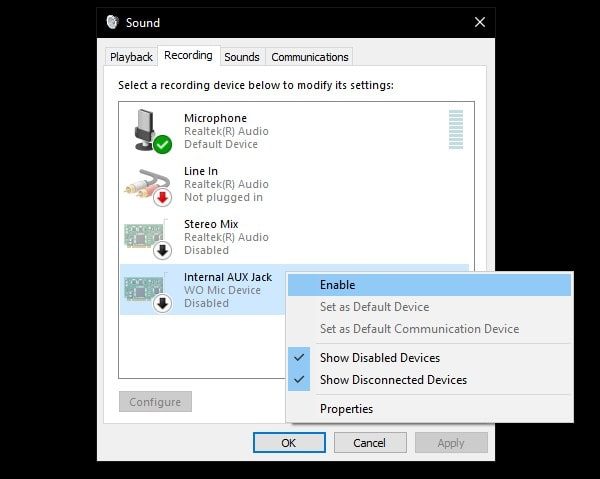
2. Click on Sound. Sound Window will appear, click on “Recording”.
3. In the Recording Devices section, you will see “Internal AUX Jack, WO Mic Device”. Right-Click on it, and then click on “Enable”.
That’s it, speak now in a smartphone mic, you will see changes in the soundbar. You can test it in the Voice Recorder App or any other app of your choice. That’s it, you can now use Android Phone as a USB Mic for Windows PC.
Wi-Fi Method.
If you find the first method complicated, which isn’t actually. Then, this method will be helpful to you. Before starting, just make sure the same Wi-Fi is connected to both PC and Android smartphones.
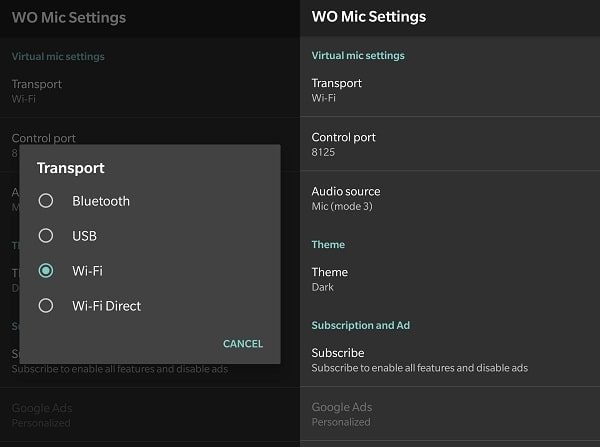
1. Open WO Mic Android App, and open App settings by tapping on the three dots icon and then click on settings. Tap on transport and select “Wi-Fi”. Select Mic (mode 3) in the audio source.
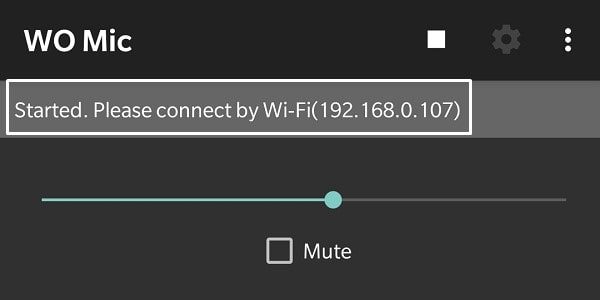
2. Go back to the home screen of the App. And, tap on Play Icon. You will see the App will show you an IP address to Connect. We will need it in the Client App.
3. Open WO Mic Client App. Click on Connections > Connect.
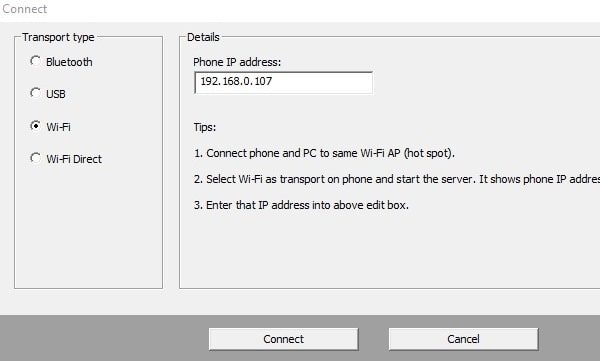
4. This time, do select “Wi-Fi” and in the “Phone IP address”, enter the IP address shown on your smartphone. Click on “Connect”.
That’s it, you can now use Android Phone as Wireless Mic for Windows PC. You can also use your Android phone as a webcam, and read my article on it.
Okay, so that’s how you can use your Android Smartphone Microphone on Windows 11/10. The whole process of WO Mic setup might be confusing, but it is a one-time setup process, and quite easy. You just have to install WO Mic App on Windows and Android. After that, by using a USB cable or WiFi, you can use a smartphone as a microphone. But, I would suggest you buy a microphone for your PC. If the audio quality of your Android Mic is not that good. Moreover, there are some other Apps also available like AudioRelay. Which offers a more simple setup process. So, you can try that out as well.