
Unable to Install Windows on a SSD or HDD, due to Error Code: 0x80070570. No worries, it can easily be fixed by using certain commands.
With a Windows 11 Installation Media USB Drive, you can easily install Windows on any PC. However, to install Windows you need TPM and Secure Boot enabled Computer. Else, you will face endless errors and boot loop. “The installation was canceled” Window usually appears, when you try to re-install Windows on a Drive. Even, after you format the drive. Yes, an unsupported BIOS also can be culprit.
However, specifically, if you’re seeing “Windows cannot install required files. Error code: 0x80070570”. Then, the issue is clearly with the HDD/SSD or with Installation Media. Well, there can be multiple causes behind this error. So, do follow each solutions mentioned in this article.
Solutions: Windows Cannot Install Required Files Error Code: 0x80070570
Solution 1: Create Windows 11 Installation Media Again
If you have created Windows installation USB Drive using third-party tools. Then, due to that, Windows is not able to install required files. And, the file may be corrupt or missing. So, I would suggest you to use official Microsoft’s Media Creation Tool.
1. Connect your USB Drive in another Computer.
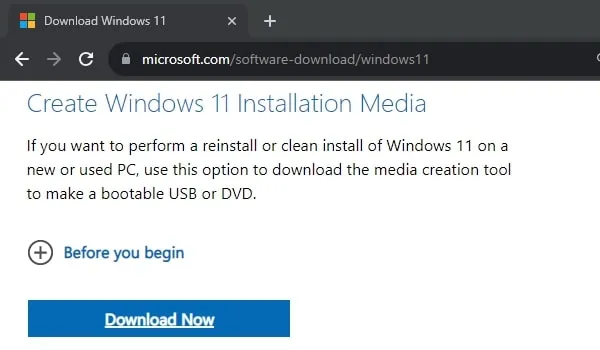
2. Open Microsoft’s Windows 11 Download Page.
3. You will find “Create Windows 11 Installation Media” section. From it, click on “Download Now” button.
4. Media Creation Tool Setup will get downloaded. Run the setup file.
5. Windows 11 Setup screen will appear. Accept License Terms.
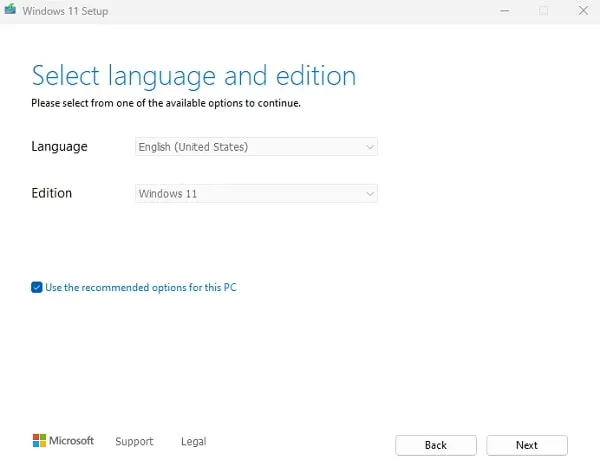
6. Next, do select Windows Language and Edition. Click on Next.
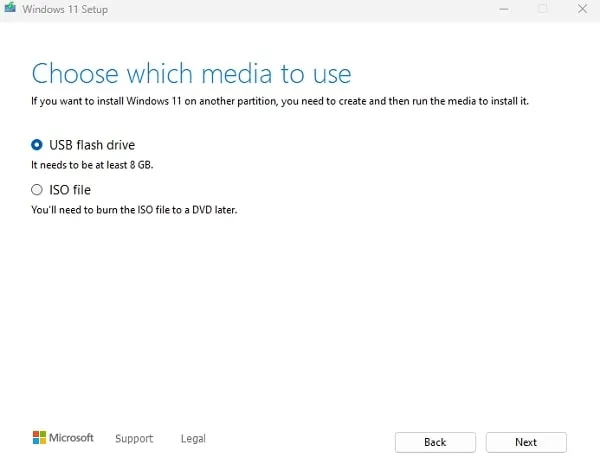
7. After that, do select “USB flash drive” option. Click on Next.
8. Now, it will ask you to select a USB Drive. Do select the USB drive and click on Next.

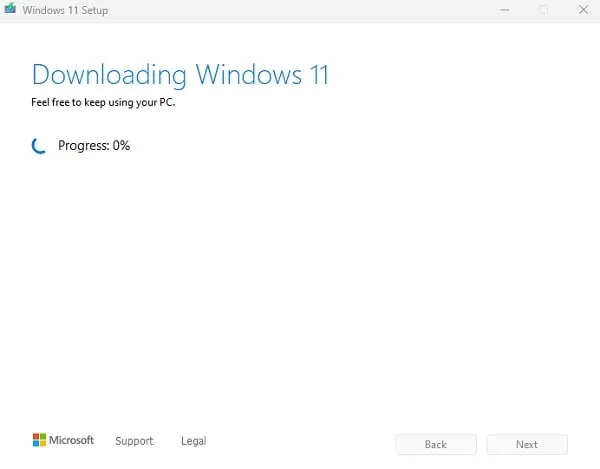
9. Windows will now start creating installation drive for you.
10. Once Windows Installation drive gets created. Do connect it to your Computer and Boot from the Drive to Install Windows.
Solution 2: Install Latest BIOS
If you’re unaware, BIOS is the first program that computer microprocessor uses to start it, after you power it on. Moreover, it also manage data flow between Computer OS and attached devices. If you’re BIOS version is old, and you’re trying to install latest Windows 11 into it. Then, “The installation was canceled” Window will appear.
Warning: If you have never updated BIOS before. And, you’re not sure you have correct BIOS file or not. Then, go to a computer repair shop, instead of trying by yourself. Installation wrong BIOS can make things worse for you.
1. Do visit your Laptop or Motherboard manufacture Website.
2. Search your laptop or Motherboard model number.
3. And, in Driver & Utility section you will find your motherboard’s BIOS & Firmware.
As you can see for my motherboard, there is an BIOS update available. And, it provides support for Windows 11.
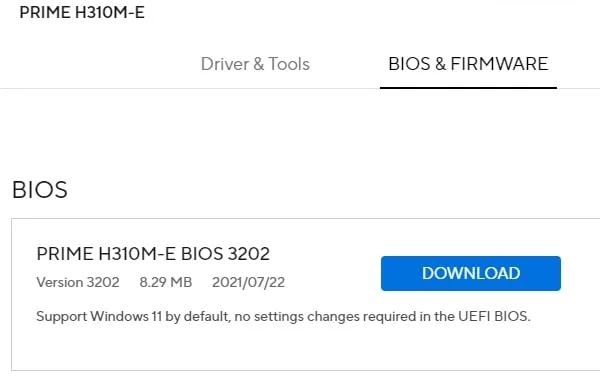
4. Download and Extract the Zip File. And, you will find *.CAP extension named file inside it. Move the file to an USB Drive.
5. Now, enter into your Computer BIOS Settings to Update BIOS.
Solution 3: Clean HDD/SSD using CMD to Install Windows
During Windows Installation, I got “Windows Cannot Install Required Files Error Code 0x80070570” even after formatting drive. And, personally, I fixed this error by cleaning drive using Command Prompt.
Important: If you’re performing a clean installation of Windows. And, you don’t need any backup of your SSD/HDD data. Then, this solution will be the best for you. Yes, you can connect your SSD/HDD to another computer and take backup.
Personally, I use two drives in my Computer, one for Windows, and second for Data. That’s why, I clean the SSD Drive using CMD. And, the error got resolved immediately.
1. Connect Windows 11 Installation drive and boot from it. Go to the Drive selection window.
2. Now, do press Shift + F10 command to open Command Prompt.
3. Once Command Prompt will get open, do run the following commands one by one.
Note: Make sure to select correct drive, else you will lose all your data. Yes, you can also undo Diskpart clean command. But, your computer needs to boot normally.
diskpart

list disk

select disk 0

clean

exit
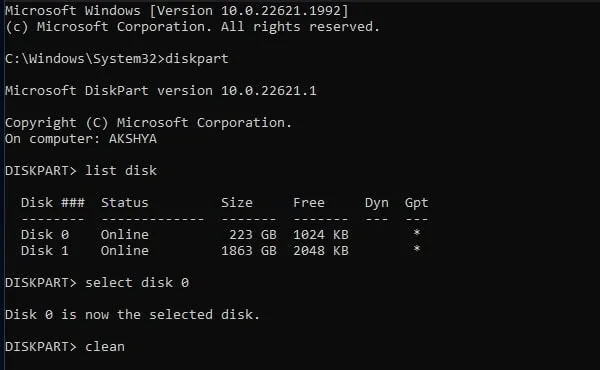
4. After cleaning the SSD/HDD close the Window. And, click on Refresh.
5. You will now see an unallocated drive. Do select it for Windows Installation.
That’s it, Windows will now get installed without any error.
Solution 4: Enable TPM and Secure Boot for Windows 11
Although, the above solutions are enough to fix this error. But still if installation process gets stopped at middle and you see errors. Then, you have to check certain BIOS Settings. As I mentioned earlier TPM and Secure boot support is required to install latest Windows.
Also, If after you turn on your computer you see American Megatrends Screen. Then, your CMOS Battery is drained out. And, because of that, BIOS settings get reset everytime you turn on Computer. Incorrect BIOS settings can cause “Windows Cannot Install Required Files 0x80070570” Error.
For ASUS Motherboard.
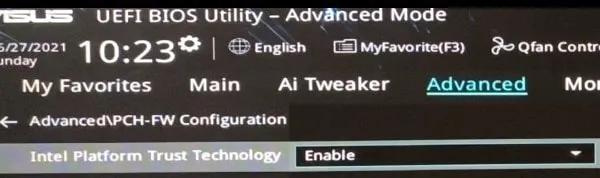
1. If you’re using ASUS Motherboard, then open Advanced Mode from BIOS Settings.
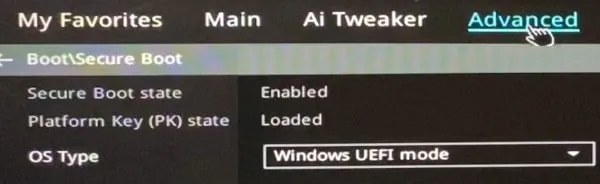
2. Click on Advanced Tab.
3. After that, Go to Boot\Secure Boot > Select Widows UEFI Mode and Enable Secure Boot.
4. Moreover, in Advanced Tab. Click on “PCH-FW configuration” > Enable Intel Platform Trust Technology option.
5. That’s it, now press F10 key to save settings.
Yes, if you’re using any other company Motherboard or Laptop. Then, first do check manufacturer website for Windows 11 support. As I mentioned, for my motherboard there was a BIOS update available. Updating BIOS automatically fixed all issues.
Okay, so these were the solutions that you can try to fix “Windows Cannot Install Required Files 0x80070570” Error. First, do create Windows Installation USB Drive using Media Creation Tool by Microsoft. After that, make sure BIOS is updated. And, Secure Boot and TPM is enabled, if you’re installing Windows 11. Lastly, you can just clean your SSD or Hard Disk Drive to fix the error.